Transform Tool #
The Transform Tool in StylusX gives you precise control over your artwork, allowing you to scale, rotate, move, and distort selected elements with ease. Whether you need to make fine adjustments or major modifications, this tool ensures seamless transformations while maintaining the quality of your strokes. With intuitive controls and advanced options, the Transform Tool empowers you to reshape your artwork effortlessly.
Transform Button #
The Transform Button is located in the top bar on the right, as the sixth icon from the left. It provides quick access to transformation tools, allowing you to scale, rotate, move, and distort selected elements with precision.
After tapping the Transform Button, customization options and settings will appear at the bottom of the screen. Here, you’ll find all the essential tools needed to adjust and manipulate your selection seamlessly.
When you tap the Transform Button, it turns blue, indicating that the transform mode is active. To exit this mode and return to your previous tool—whether it was a brush, eraser, or smudge tool—simply tap the button again.
Transform Panel #
After activating the Transform Mode, the Transform Panel will appear at the bottom of the screen, providing multiple options to precisely control and manipulate the selected element. These options allow you to move, scale, rotate, and distort the selection with ease, ensuring seamless adjustments to your artwork.
Transformation Modes #
Transformation Modes allow you to modify the selected area using different techniques. Whether you need to scale proportionally, adjust the shape freely, or apply perspective effects, each mode provides a unique way to transform your artwork. These modes offer full control to achieve precise and dynamic edits.
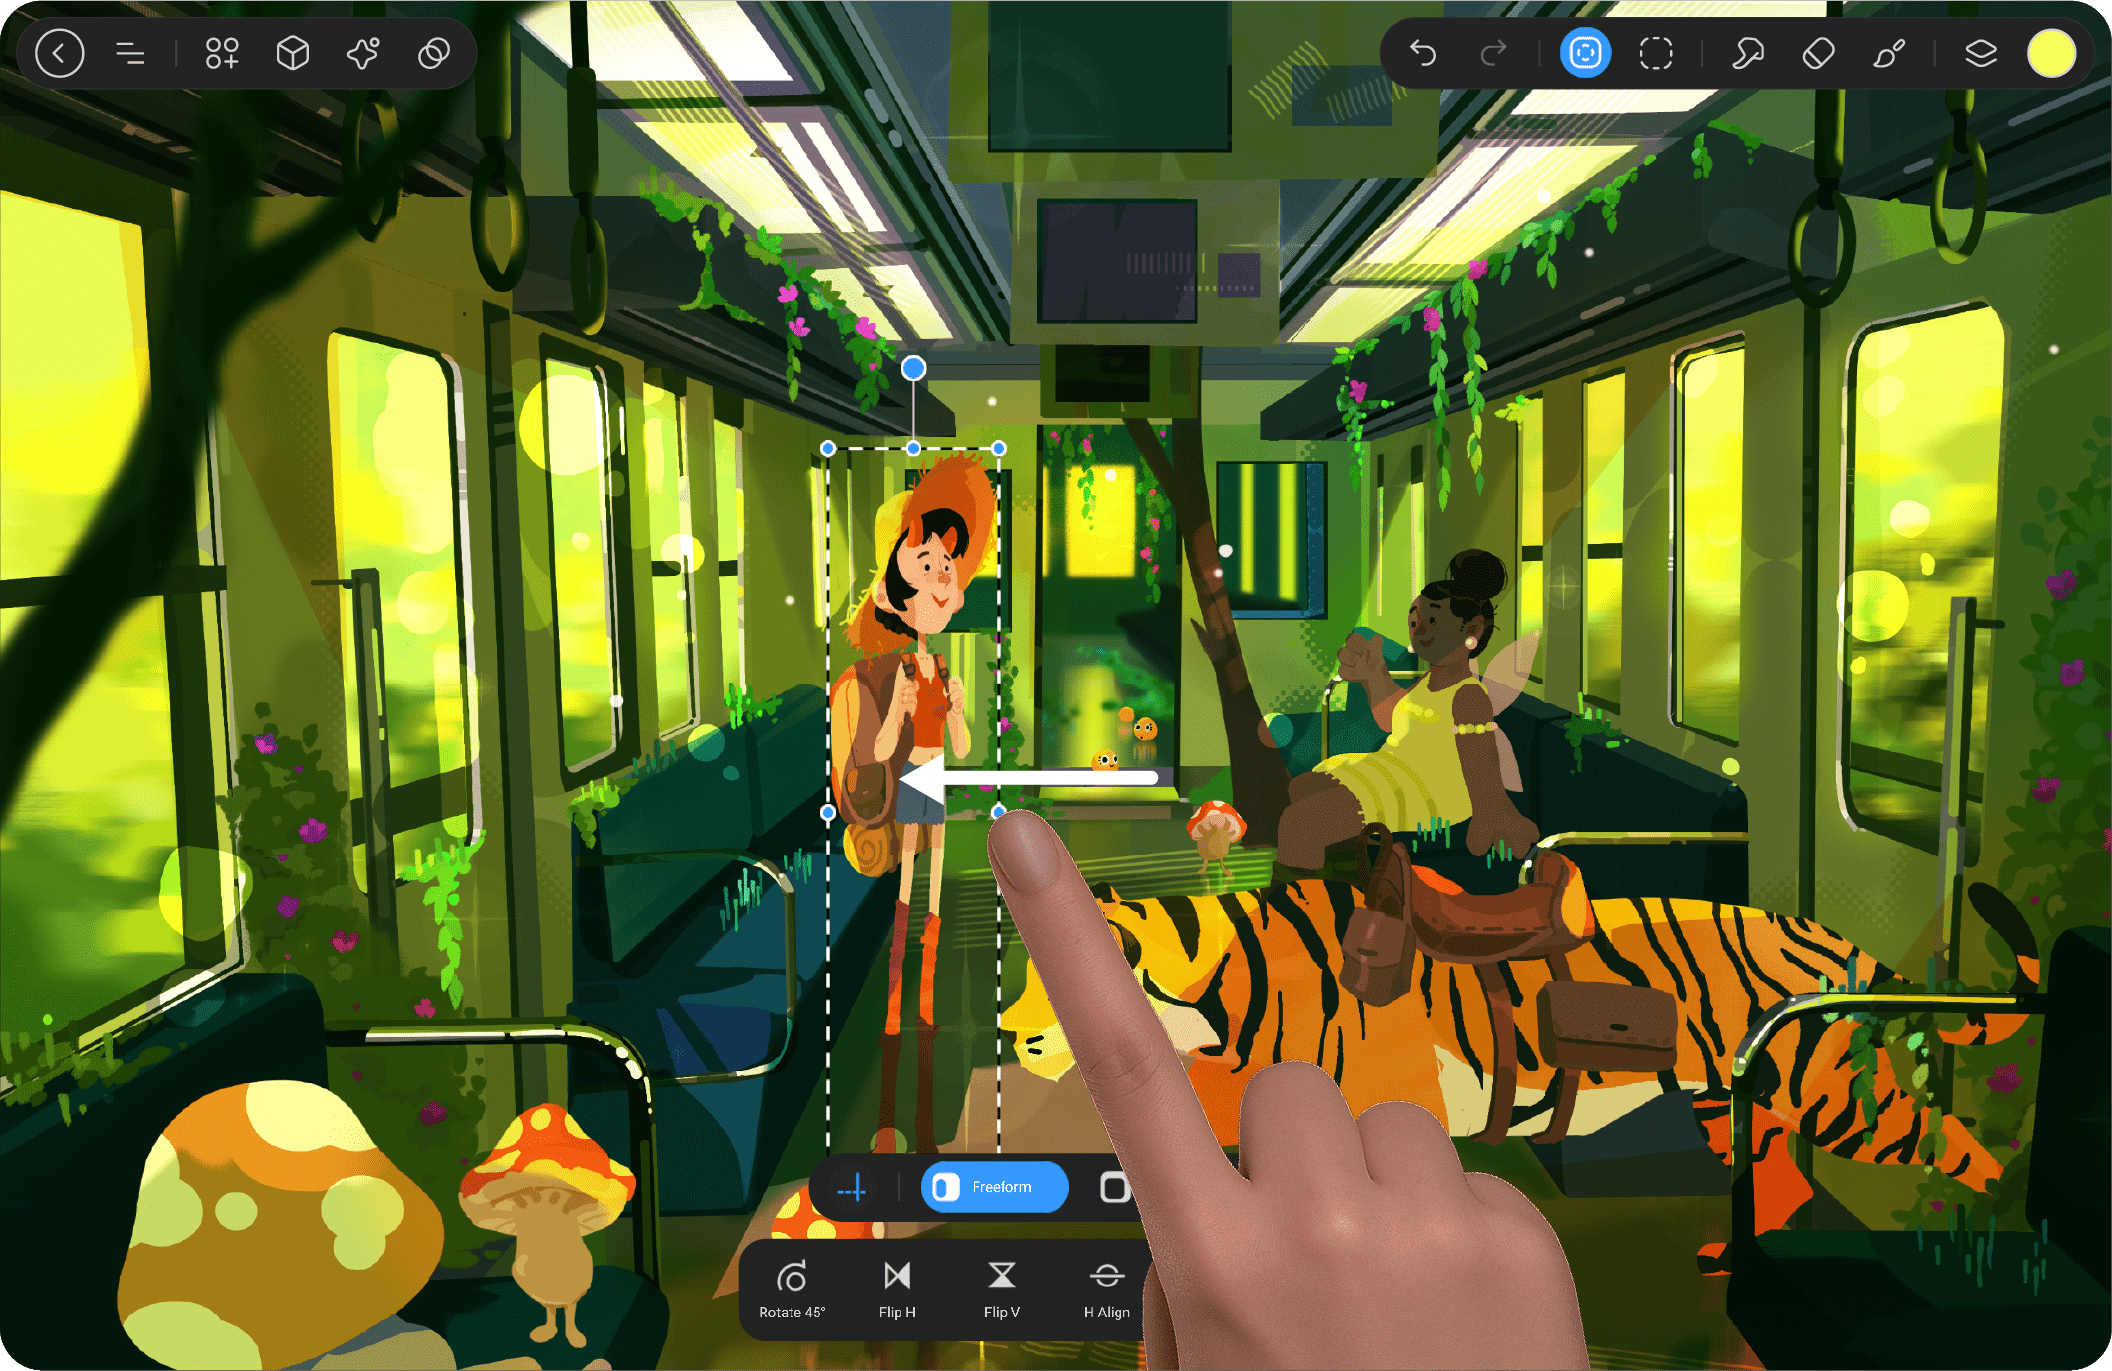
Free Form #
This mode allows complete freedom to resize and move the selected area in any direction without maintaining any constraints. You can freely stretch or compress the selection along both axes (horizontal and vertical).

Uniform #
In this mode, when you resize the selection, the aspect ratio is preserved. This means the width and height of the selection will scale proportionally. It ensures that the element doesn’t get distorted, making it useful when maintaining proportions is essential.
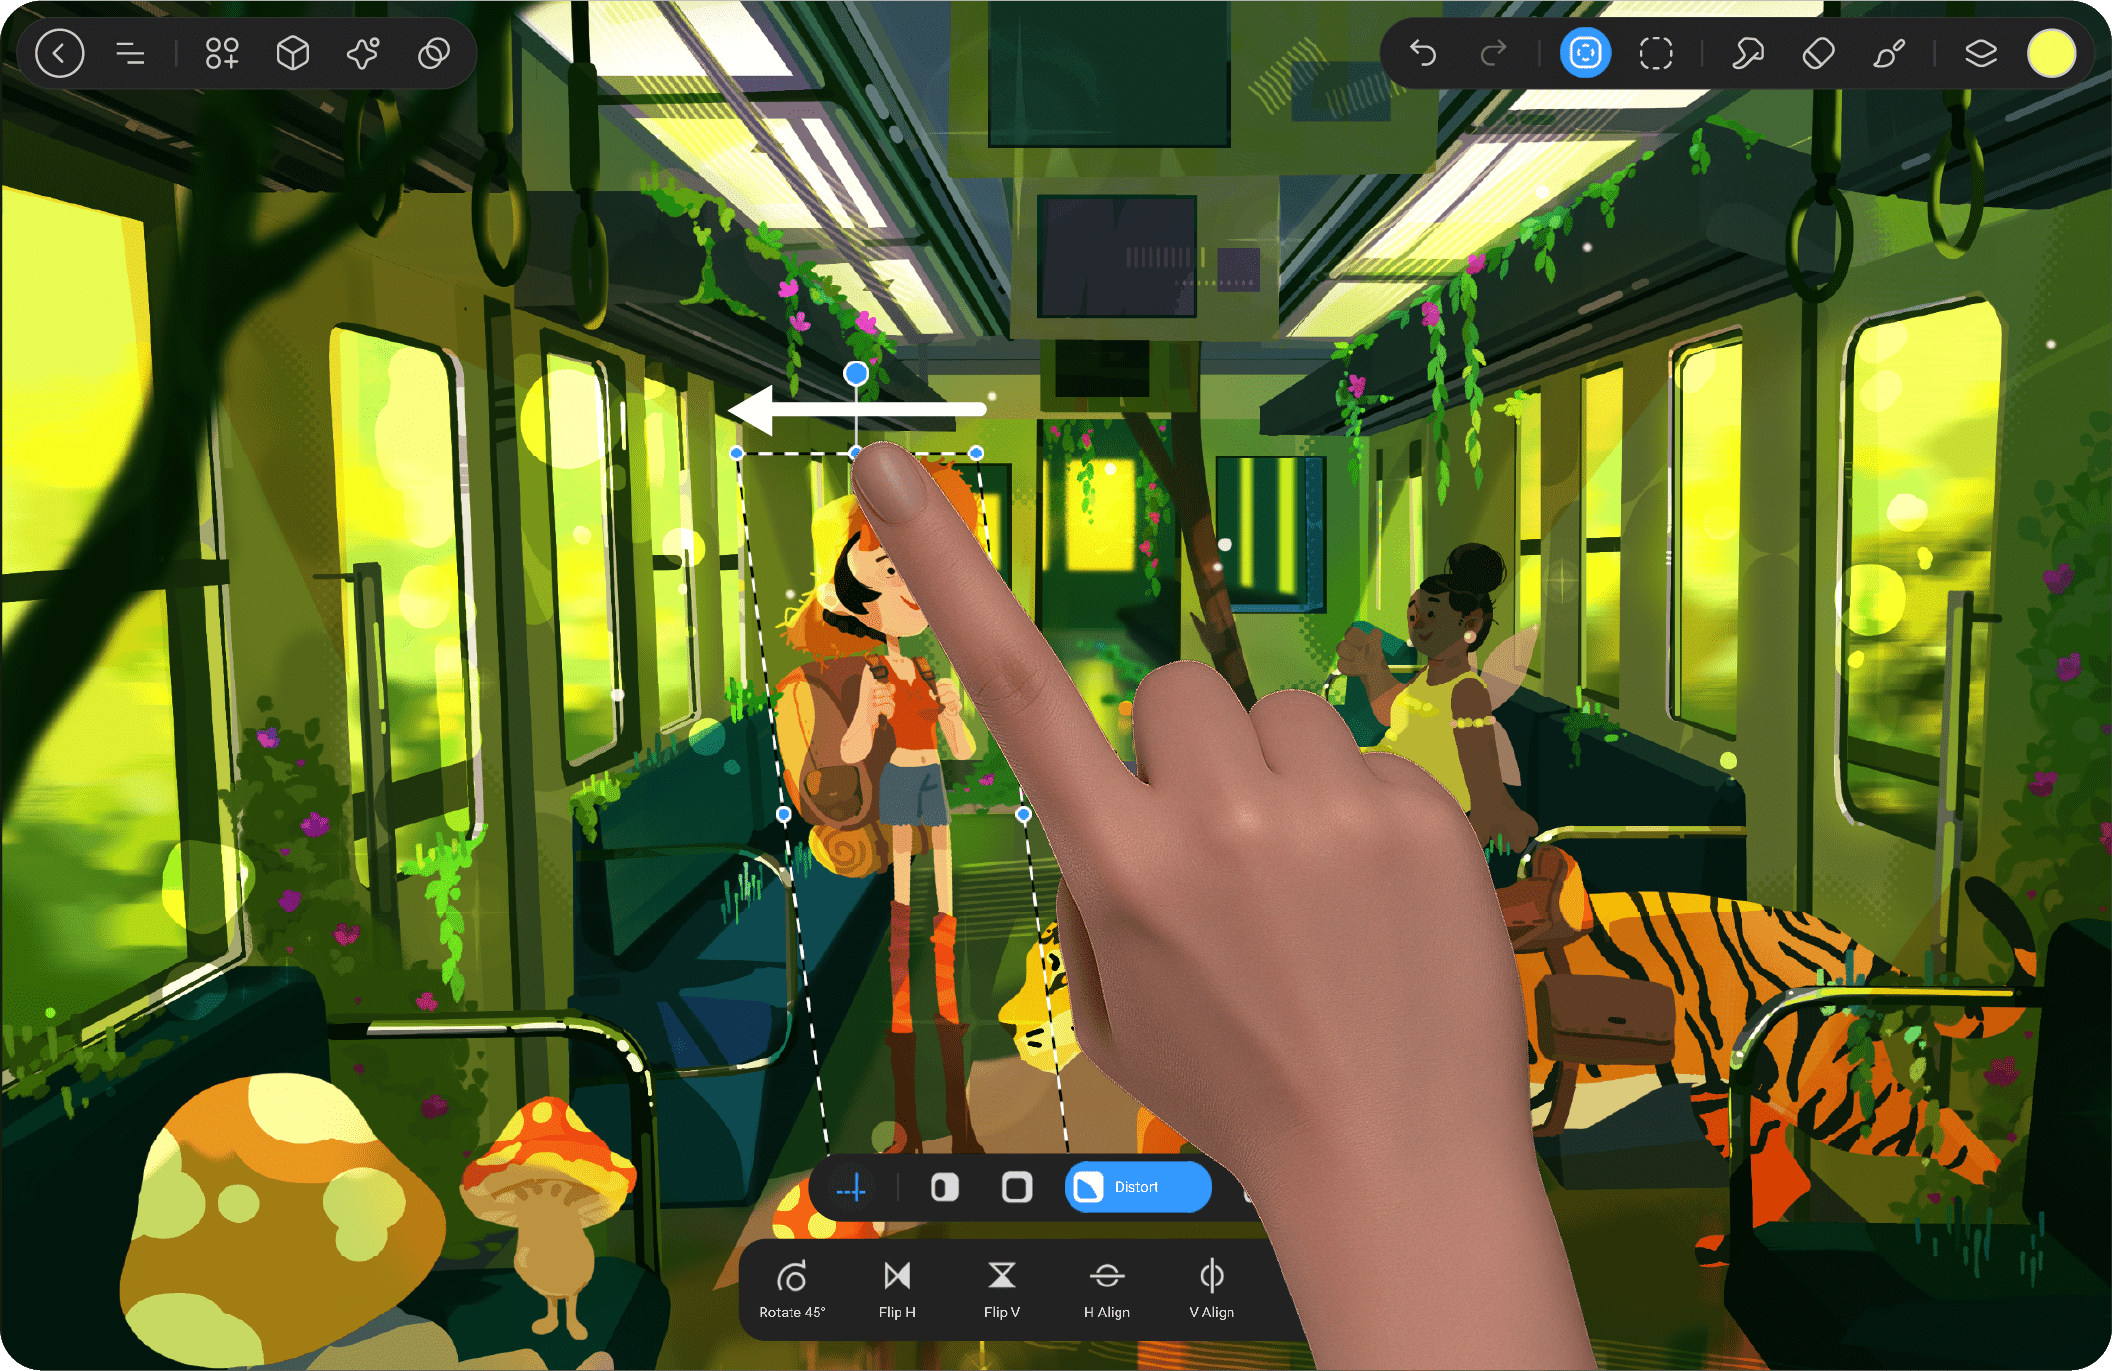
Distort #
This mode lets you adjust the four corners of the selection independently. Unlike the Free Form mode, Distort allows for skewing the image, which is ideal for creating effects like perspective distortions or reshaping the selection without any proportional limitations.
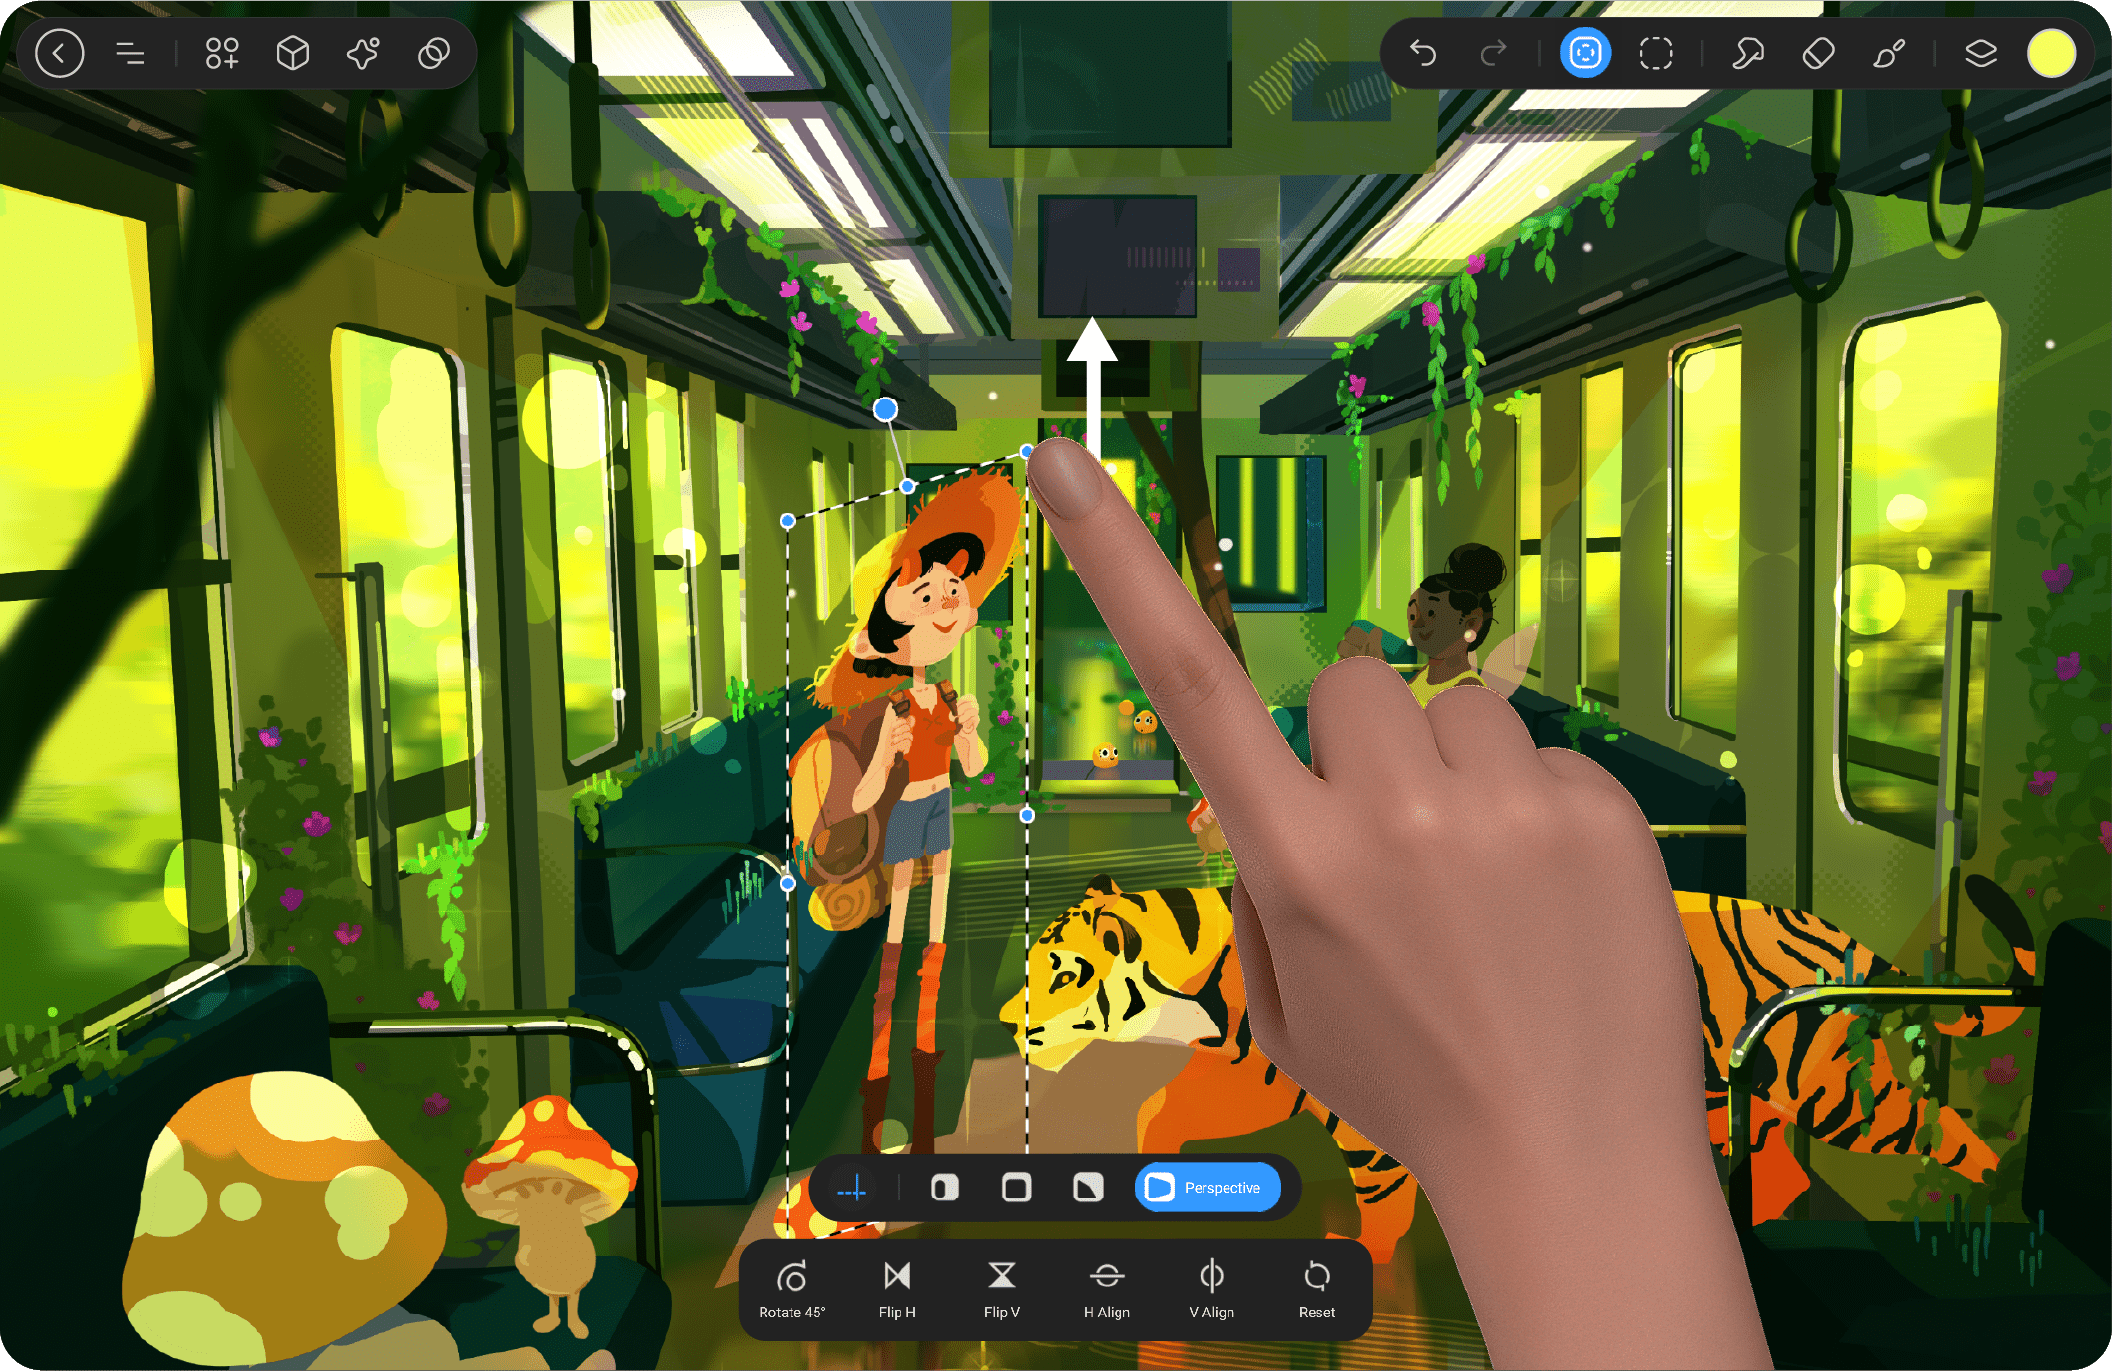
Perspective #
This mode simulates the way objects appear smaller as they get farther away in a scene. By adjusting the corners of the selection, you can create depth and perspective, which makes it look like the object is receding or coming closer to the viewer. This is often used to create a sense of space or 3D effect in 2D designs.
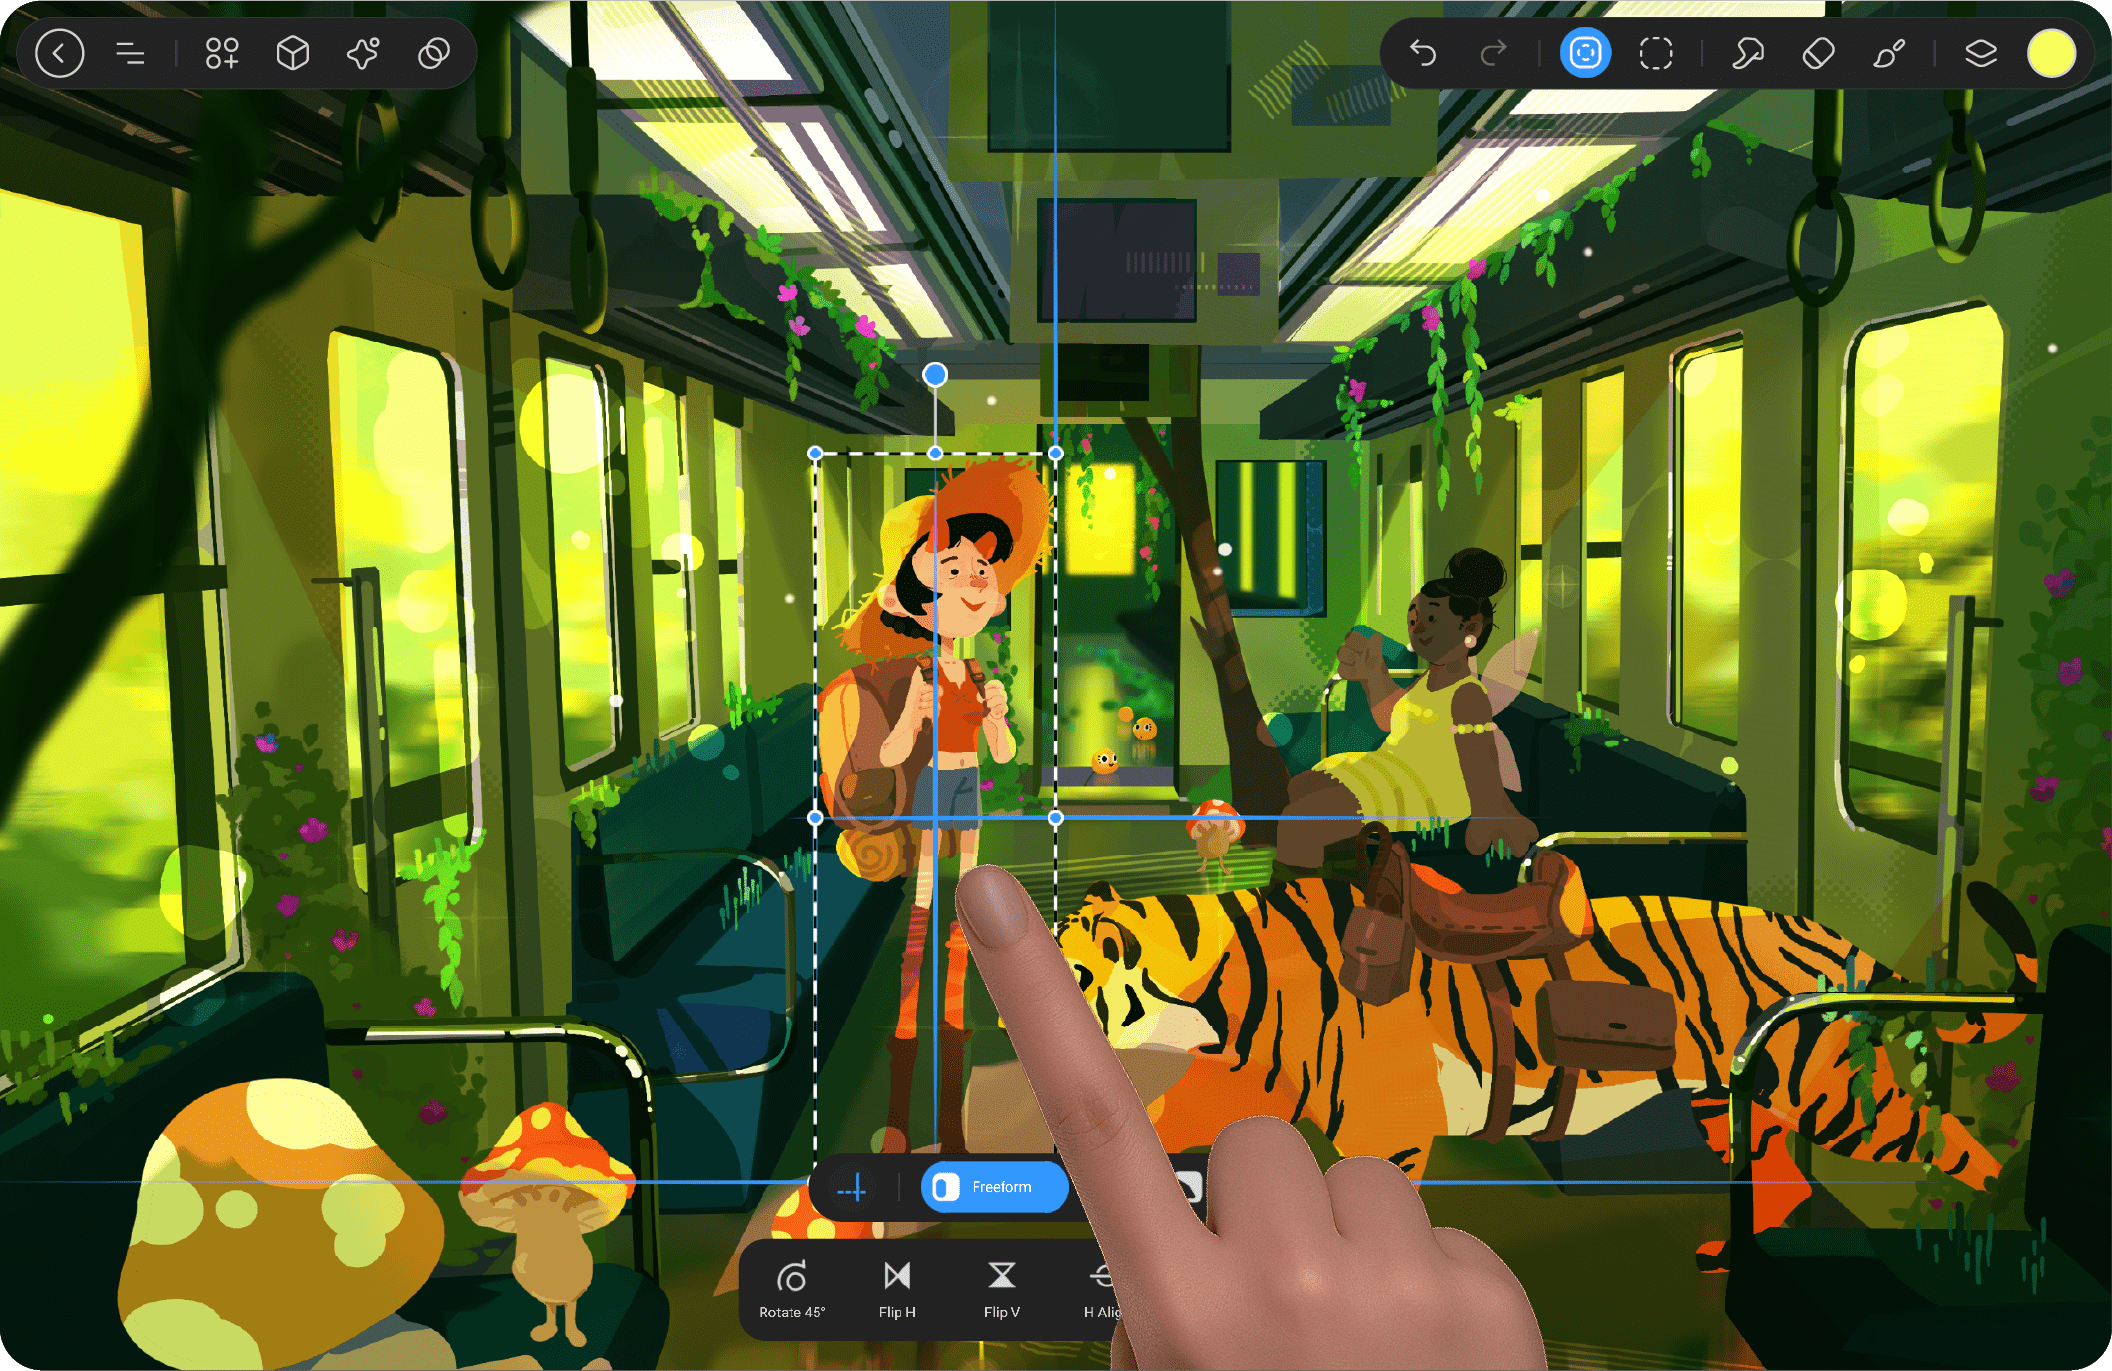
Snapping #
Snapping helps align the selected object with other objects or guides on the canvas. When moving or resizing the selection, it will “snap” into place, aligning with the closest guide or object edge. This tool ensures precise placement without manually adjusting the object to fit perfectly.
Transformation Controls #
Transformation Controls allow you to manipulate and adjust the selected area with precision. These controls include rotating, flipping, aligning, and resetting the selection to suit your design needs. They give you the flexibility to transform your artwork into the desired position, size, and orientation quickly and easily.
Rotate 45° #
This control rotates the selected object by 45-degree increments. It’s useful when you need to rotate an object in fixed steps, making it easier to achieve uniform rotation angles.
Flip Horizontal #
This option flips the selection horizontally. It’s typically used to mirror the image along its vertical axis. For example, if you have a face in a drawing, flipping it horizontally will create a mirror image of the face.
Flip Vertical #
Similar to Flip Horizontal, this option flips the selection along the horizontal axis. This creates a mirror effect, often used for creating reflections or symmetrical designs.
Horizontal Align #
This aligns the selected area horizontally with the canvas or with other elements on the canvas. It ensures that the object is centered or positioned along the desired horizontal axis.
Vertical Align #
This aligns the selected area vertically, ensuring that the object is positioned evenly along the vertical axis of the canvas. It’s particularly useful for centering objects or aligning them in a specific vertical orientation.
Reset #
This button restores the selected area to its original state before any transformation took place. It’s helpful if you want to discard any changes made during the transformation process and revert to the initial position or size.


