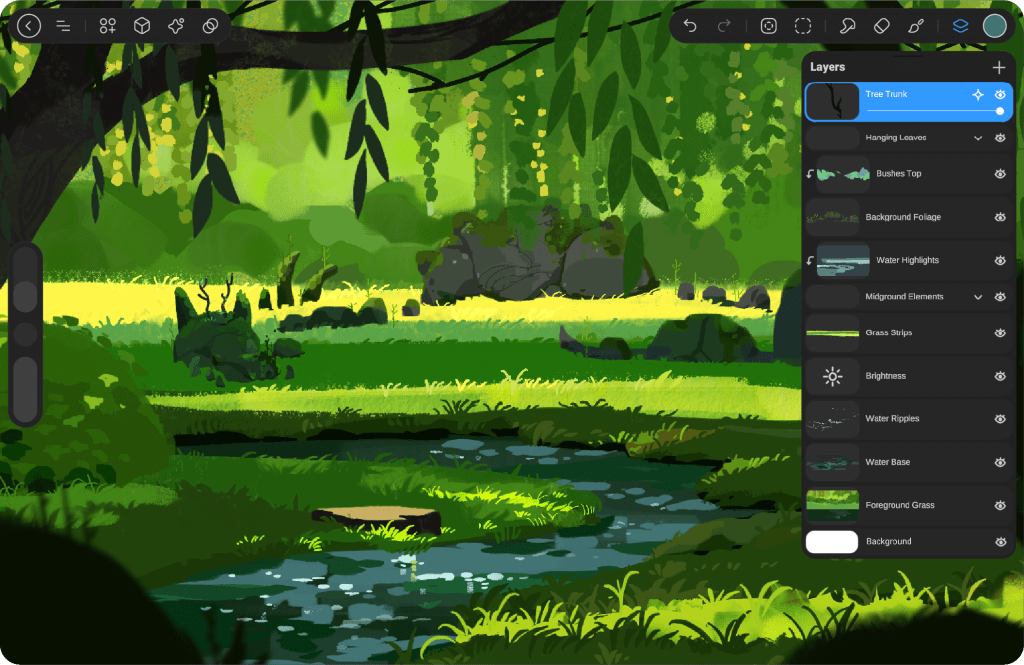
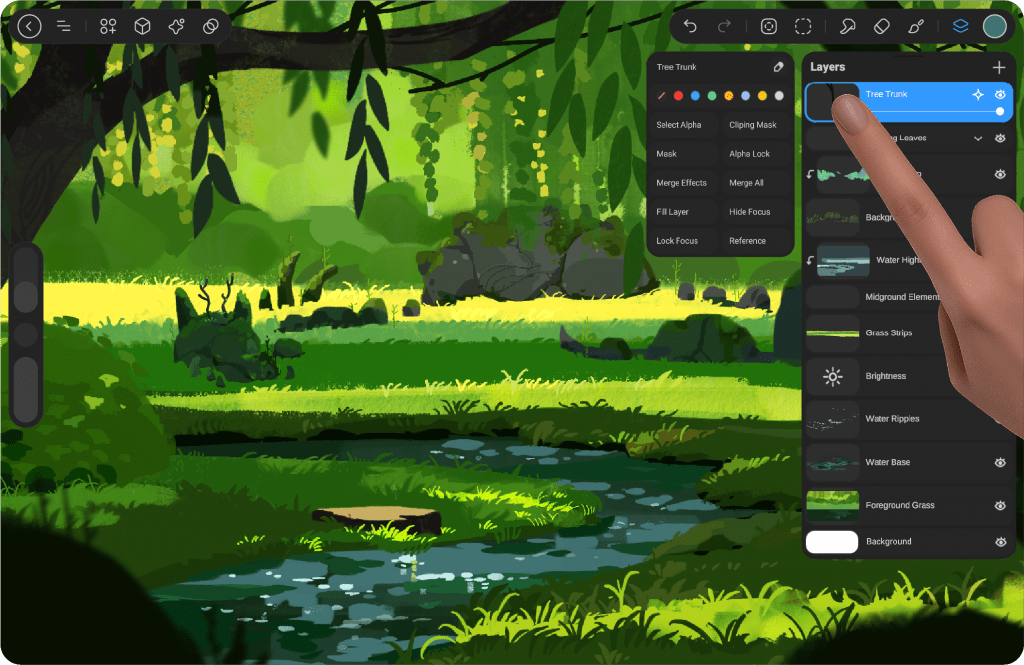
The Layers Panel #
The Layers panel provides a user-friendly interface, offering a range of powerful tools that are just a tap away. This panel allows you to easily manage and organize your artwork by using multiple layers, giving you full control over each element of your design. With features like layer selection, duplication, deletion, and the ability to lock layers, you can work more efficiently and with greater flexibility, all within a streamlined and accessible layout.
Layers Menu Button #
To access the Layers panel in StylusX, tap the Layers icon. located in the top-right corner of the interface.
Tap it to open the Layers panel.
Create Layer #
You can find the “Create Layer” button in the top-right corner of the Layers panel, represented by “Plus.”
Tap it to quickly add a new layer to your project.
Selected Layer #
To ensure your artwork stays organized, changes are applied only to the selected layer, which is clearly highlighted in blue. Simply tap on a different layer to begin editing it, and all adjustments will be made on that layer.
Layer Thumbnail #
The Layer Thumbnail provides a mini preview of the content within each layer, allowing you to quickly identify and select the layer you wish to work on. This visual aid makes it easier to navigate through multiple layers and ensures precise editing.
Layer Name #
Customizable layer names allow you to easily label each layer, helping you stay organized and quickly identify the content of each layer. This feature ensures that your artwork remains neat and manageable, especially in more complex projects.
Eye Icon for Layer Visibility #
The visibility option in the Layers panel is represented by an eye icon. Tap the eye icon next to a layer to toggle its visibility on or off. When the eye is closed, the layer is hidden from view, allowing you to focus on other layers. Tap it again to make the layer visible.
Toggle Solo Visibility #
Press and hold the Eye Icon on a layer to view its contents in isolation. The message “Solo visibility on” will appear in the top bar.
Press and hold the Eye Icon again on the active layer to restore visibility for all layers. The message “Solo visibility off” will be displayed in the top bar.
Layer Opacity Slider #
The Layer Opacity Slider allows you to control the transparency of your selected layer. By adjusting the slider, you can make the layer more transparent or more opaque, giving you the flexibility to create subtle effects, blend layers, or achieve a specific visual look in your artwork. Simply drag the slider left to decrease opacity or right to increase it.
Panel Handle #
By tapping the line at the top of the layer window, you can move the layer panel within the workspace, allowing for a more organized environment and easier access to your layers. Additionally, there is a magnet icon on the right side of the screen, which lets you dock the layer panel permanently, keeping it in place for seamless navigation. You can also position the color and brush libraries alongside the layer panel for improved workflow.
Note: Once the layer panel is docked to the right side of the screen, you can easily un-dock it by tapping the layer window again.
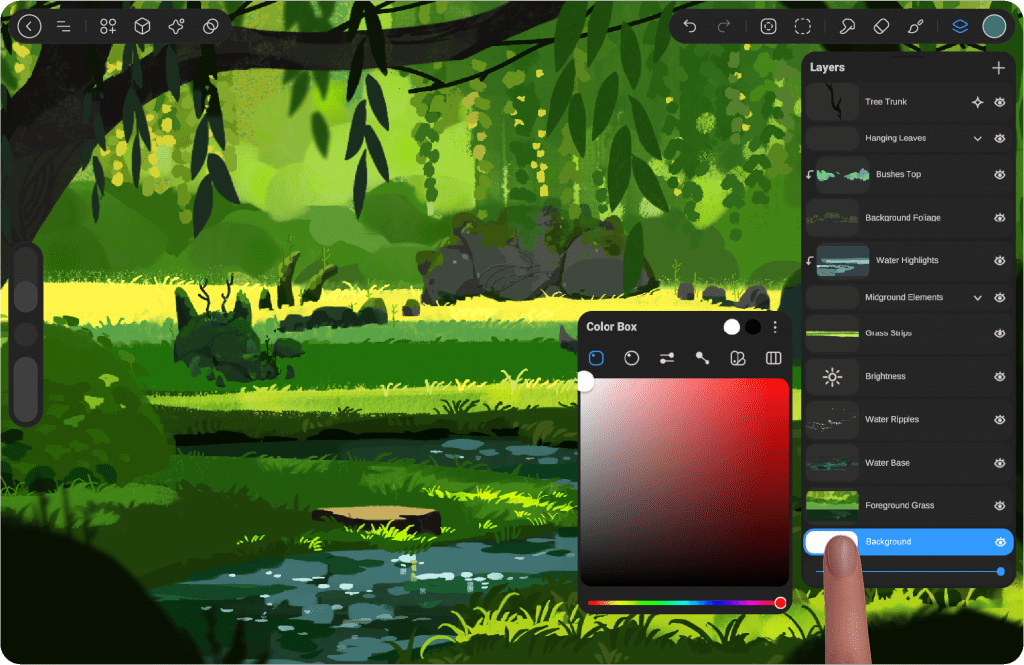
Background #
The Background option allows you to adjust the color and opacity of your canvas background. This setting is permanent and will remain unchanged unless you manually alter it. You can change the background color to any hue and adjust its transparency to fit your project’s needs, creating the perfect environment for your artwork.
Color Adjustment #
Color Adjustment in the Layers panel allows you to modify the color properties of a layer. You can adjust the brightness, contrast, saturation, and more to achieve the desired effect.
To access Color Adjustment, tap on the layer thumbnail, and select the color adjustment options. These settings will apply only to the selected layer, enabling you to fine-tune your artwork without affecting other layers.
Learn more about it in Color Box
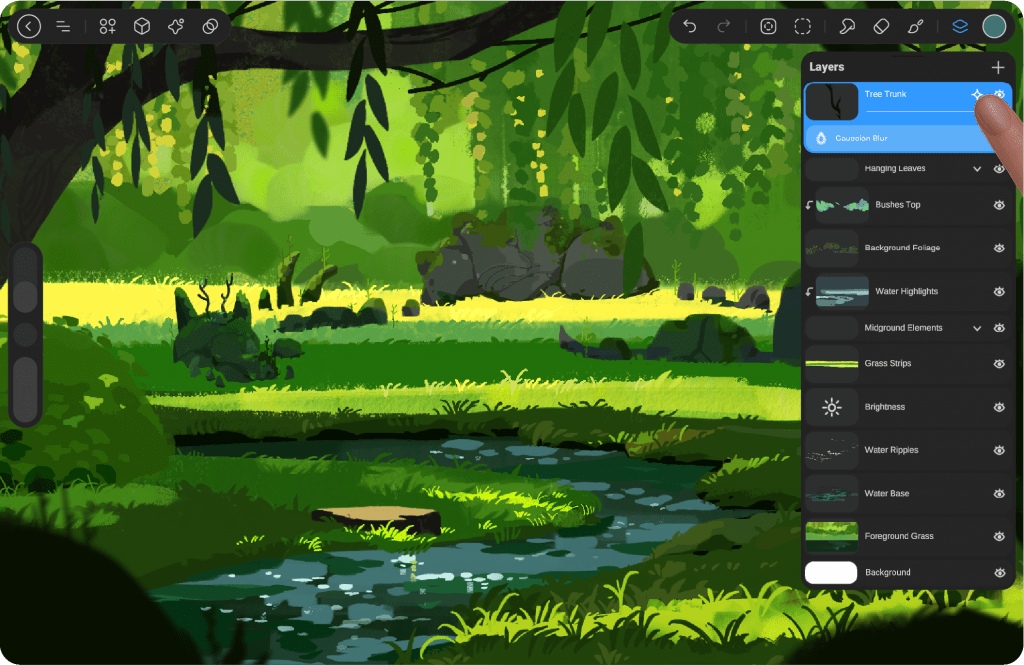
Effects #
The Effects icon, located next to the layer’s visibility (eye) icon, appears when you add an effect to the selected layer. To access the effects, tap the icon, and a list of available effects will appear. You can adjust or remove effects at any time.
The effects menu can be opened and closed by tapping the same icon, giving you easy access to modify the layer’s appearance as you work.
Learn more about it in Color Box
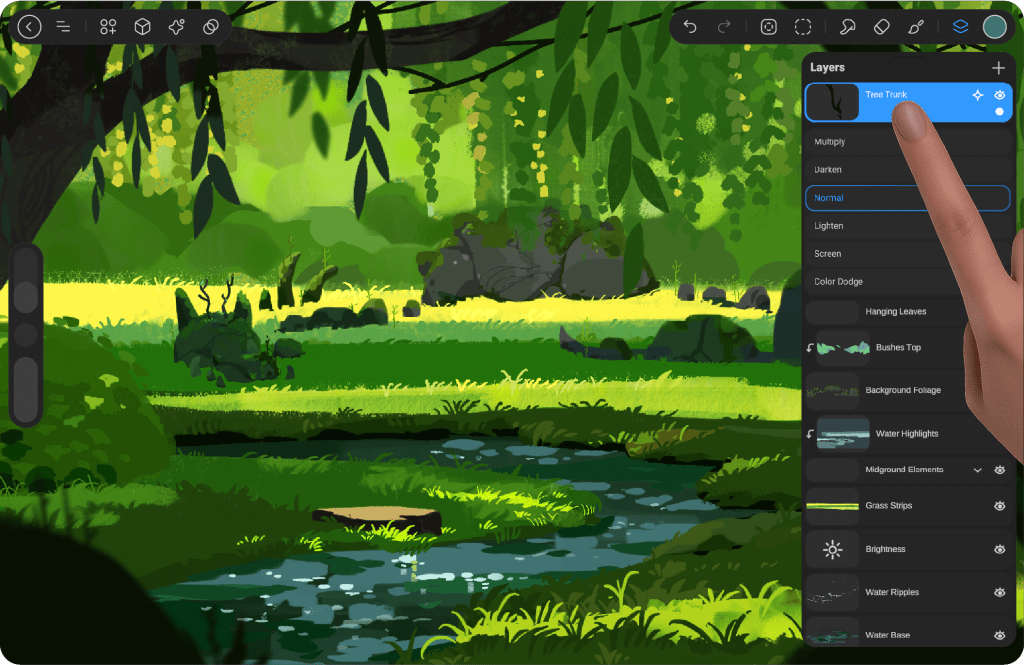
Blend Mode #
When you tap once on the active layer, the available blend modes will appear. Tap again on the layer or anywhere else to close the blend mode options. This gives you the flexibility to experiment with different effects and find the best blending method for your artwork.
Learn more about Blend Mode
Layer Options #
When you tap once on the Layer Thumbnail, regardless of whether the layer is active or not, the layer settings will appear. This allows you to easily access options like renaming, adjusting opacity, applying blend modes, and more, helping you manage your layers efficiently.
Learn more about Layer Options


