Interface #
Color adjustment is a crucial tool for refining the visual appeal of your artwork by altering its colors, tones, and overall appearance. This feature allows you to fine-tune the image’s brightness, contrast, saturation, and hue to achieve the perfect balance. Whether you’re enhancing the overall mood of your design or making specific elements stand out, color adjustments give you the flexibility to modify and perfect your creations.
When you access the color adjustment options, you’ll see a panel at the bottom with two primary choices: Canvas and Brush.
Canvas: Selecting this option will apply the adjustments to the entire canvas, affecting all layers within your artwork.
Brush: Choosing this option will restrict the adjustments to the area you’ve drawn on, allowing you to apply specific effects to only the painted regions.
Upon selecting the Brush option, the colors will automatically shift to grayscale, with white indicating areas where the effect is applied, and black where the effect is removed.
On the right side of the Brush option, you’ll find a Reset button, which reverts all color adjustments to their original state. Next to that is the Eye Icon, which, when clicked, will reveal the original image before any color adjustments are applied. Clicking on the eye icon again will restore the color adjustments.

Where Will the Adjustments Appear? #
Once you add a color adjustment, it will appear above the layer you are working on. You can move it or apply a Clipping Mask to restrict the effect to a specific layer or group. The color adjustment can also be previewed by clicking on the Preview option within the layer. This will bring up the following settings:
Adjustment Layer Label
Clipping Mask
Merge Down
Merge All
Lock Focus
Opacity Slider (for transparency control)
Hide/Show Icon for visibility control
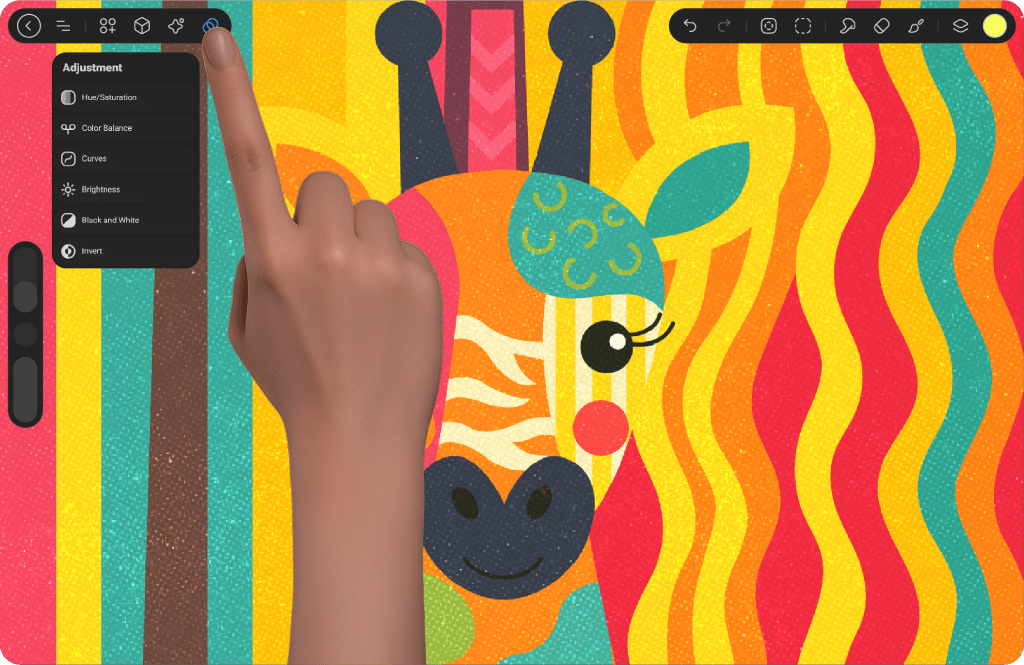
Available Color Adjustment Settings in StylusX: #
Hue/Saturation #
Hue: This slider adjusts the overall color tone of the image. Moving the slider will shift the image to different hues, changing the colors of the entire artwork. For example, moving the hue slider can turn reds into greens or blues into oranges.
Saturation: This slider controls the intensity or purity of the colors. Increasing saturation makes the colors more vivid and intense, while decreasing it makes the colors more muted or closer to gray.
Brightness: This slider controls the lightness or darkness of the image. Moving the brightness slider to the right lightens the image, and moving it to the left darkens it.
Color Balance #
Shadows: This mode adjusts the color balance of the darker areas (shadows) of the image. For instance, if you shift the Cyan-Red slider in the shadows mode, you will affect the darker regions, adding more cyan or red.
Midtones: This mode affects the mid-range tones of the image—areas that aren’t too bright or too dark. This allows you to tweak the overall balance in the more neutral tones of your artwork.
Highlights: This mode adjusts the color balance of the lighter areas (highlights) of the image. Similar to shadows and midtones, you can shift the color balance in the brightest parts of your artwork.
Cyan-Red: This slider adjusts the balance between cyan and red tones. Moving the slider toward cyan will add more blue-green tones, and moving it toward red will add more warm red tones.
Magenta-Green: This slider adjusts the balance between magenta and green tones. Moving the slider to the left increases the green, while moving it to the right increases the magenta (purple/red tones).
Yellow-Blue: This slider controls the balance between yellow and blue tones. Moving it to the left will add more blue (cool tones), and moving it to the right will add more yellow (warm tones).
Curves #
Gamma: The Gamma slider adjusts the brightness of the image’s midtones, without affecting the shadows and highlights as much. It can help balance the overall contrast of the image by adjusting how light or dark the midtones are.
Red, Green, and Blue: These individual color sliders allow for precise control over the red, green, and blue channels in the image. By adjusting each of these channels, you can manipulate the color balance and tint of the image. For instance, increasing the red channel will add more warmth to the image, while increasing the blue channel will add cooler tones.
Brightness #
Exposure: This slider adjusts the exposure of the image, essentially lightening or darkening the entire image. Increasing exposure will brighten the image, while decreasing it will darken the image.
Offset: The offset adjustment moves the image’s tonal range, essentially shifting the light and dark areas of the image. Increasing the offset can brighten the darks, while decreasing it darkens the lights.
Gamma Correction: This adjusts the midtones of the image, similar to the gamma setting in the Curves adjustment. It allows you to fine-tune the brightness of mid-level tones without significantly altering shadows or highlights.
Black and White #
Cyan Tones: Adjusts the brightness or darkness of cyan tones in the image. Increasing this will brighten cyan areas (e.g., light blues), while decreasing it will darken those areas.
Blue Tones: Controls the brightness or darkness of blue tones in the image. Increasing this will brighten blue regions, while decreasing it darkens them.
Magenta Tones: Adjusts the brightness or darkness of magenta tones. Increasing this will lighten magenta (purple/red areas), and decreasing it will darken them.
Red Tones: Controls the brightness or darkness of the red tones in the image. Increasing this will brighten red regions, while decreasing it darkens them.
Yellow Tones: Adjusts the brightness or darkness of yellow tones. Increasing this will lighten yellow areas, while decreasing it will darken them.
Green Tones: Controls the brightness or darkness of green tones. Increasing this will brighten green regions, while decreasing it will darken them.
Invert #
This option inverts the colors in your artwork, creating a “negative” effect. All the colors in the image are swapped to their opposite colors. For example, reds become cyans, greens become magentas, and blues become yellows, giving the image a completely altered look.
Each of these adjustments allows you to manipulate your artwork’s colors and tones in a precise and creative manner. Whether you’re looking to change the overall mood of your design or tweak specific color elements, the Color Adjustment and Effects tools in StylusX provide the flexibility and control you need.


