Managing Groups #
Organizing and Rearranging Groups: #
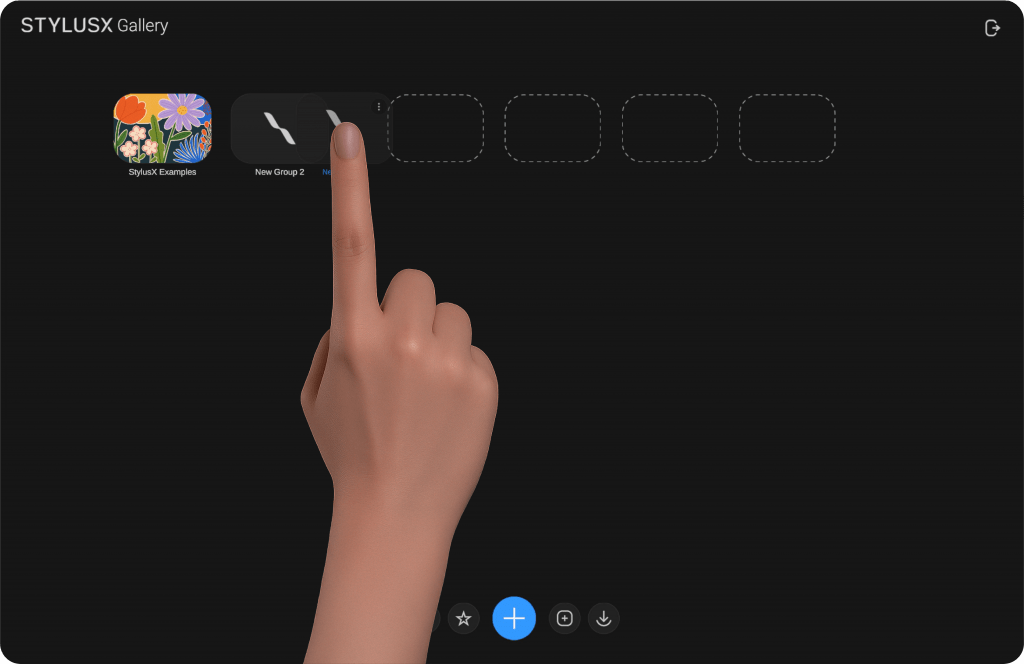
Press and hold on a group to enable movement. You can then drag it horizontally to reposition it within your gallery, allowing for seamless organization.
Group Options: #
When hovering over a group, three dots will appear in the top-right corner. Tapping them will reveal three key actions:
Rename Group – Modify the group’s name for better organization.
Set Cover Image – Select a custom cover image to visually distinguish the group. A file browser will open, allowing you to choose an image that best represents the group’s content.
Delete Group – Permanently remove the group along with all the artworks inside it. ⚠️ This action is irreversible and cannot be undone.
Managing Artworks #
Dynamic Artwork Display #
Artworks in the gallery retain their original dimensions, ensuring a visually dynamic and natural layout. This approach allows for intuitive recognition of each piece without forced cropping, giving your workspace a more organic feel.
Rearranging Artworks #
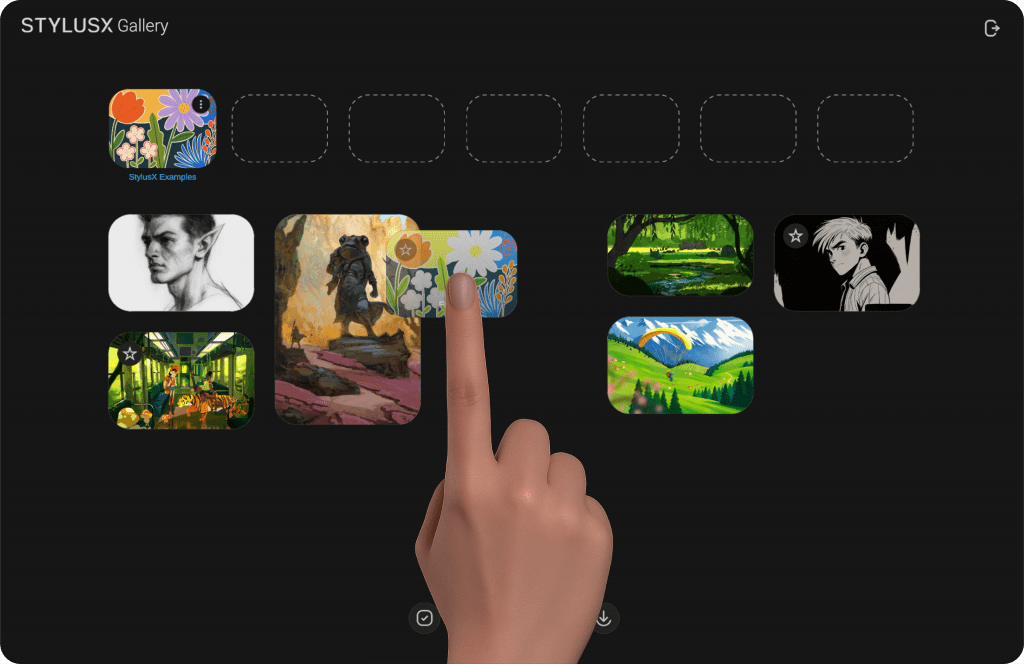
To reposition an artwork within a group, press and hold its preview, then drag and drop it to your desired location. This enables seamless organization, helping you keep your workspace structured and efficient.
For cross-group organization, simply drag an artwork and drop it into a different group. This makes it easy to categorize and manage your projects effortlessly.
Artwork Options #
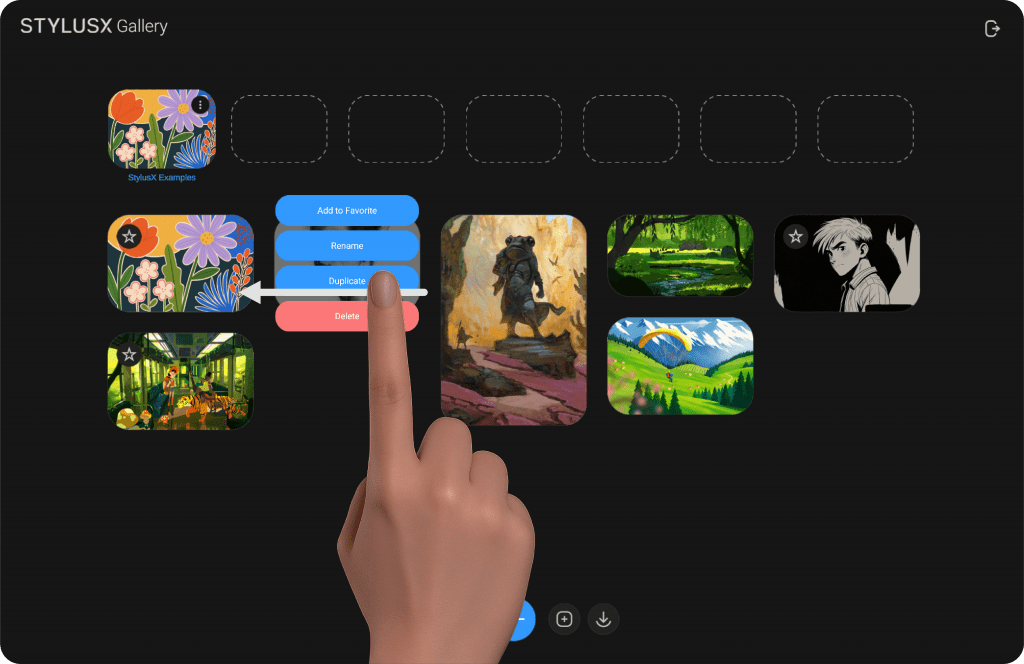
Swiping left on an artwork reveals a vertical menu with the following options:
Rename – Modify the artwork’s name for better organization.
Duplicate – Create an exact copy of the artwork, preserving all layers and adjustments.
Delete – Permanently remove the artwork from the gallery. ⚠️ This action is irreversible and cannot be undone.

Selection Mode #
The Selection Tool, represented by a square with a checkmark, is located in the bottom panel. Tapping this icon activates Selection Mode, allowing you to manage multiple artworks simultaneously.
Once activated, a checkmark icon will appear in the upper-right corner of each artwork. Simply tap on an artwork to select it. After making your selections, additional options will appear in the bottom panel:
Add to Favorites – Mark selected artworks as favorites. A star icon will appear in the upper-left corner of each favorited artwork for quick identification.
Exit Selection Mode – A central “X” button allows you to exit Selection Mode at any time without making any changes.
Delete – Permanently remove selected artworks. ⚠️ This action cannot be undone.
Additionally, you can move selected artworks to a different group. Press and hold any selected artwork, then drag and drop it onto the desired group. This feature ensures seamless organization, making it easy to keep your workspace structured and efficient.

Favorites #
The Favorites section provides quick access to your most important artworks. When you tap the Favorites icon, a new view will open, displaying only the artworks you’ve marked as favorites.
Unlike the main gallery, this section does not include groups—here, all favorited artworks are displayed together in a unified space. You can freely rearrange them to suit your workflow.
To remove an artwork from Favorites, simply swipe left on it, and a “Unfavorite” option will appear. Tapping it will remove the artwork from this section, but you can always add it back later.
To exit the Favorites section, tap the “X” button at the bottom of the screen, returning you to the main gallery view.
Navigating Between Artwork and Gallery: #
Once you have created an artwork, the program interface will open, providing you with multiple tools to work with.
At the top left, you will find an icon of a left-pointing arrow inside a circle. When you press it, you will be taken back to the gallery.
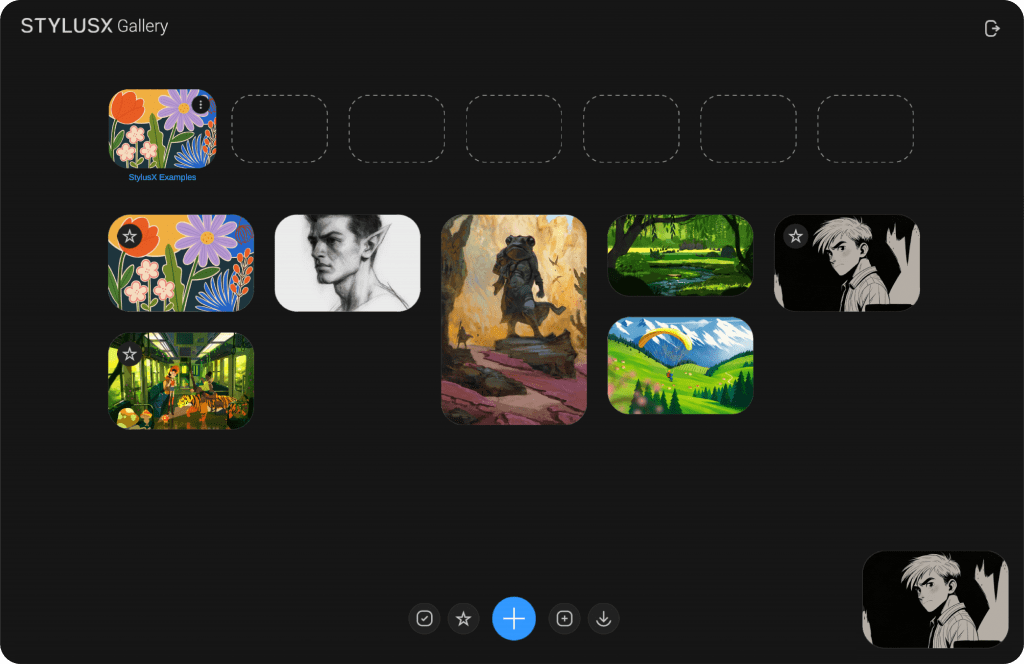
However, don’t worry! After pressing the icon, a preview of the artwork you were previously working on will appear at the bottom-right corner of the screen. You can simply click on it to quickly return to your work at any time.
If you wish to close the artwork, you can swipe left on the preview. This will bring up the option to delete the artwork. When you click on “Delete,” you will be prompted with a confirmation asking whether you want to save your work or delete it.
If you choose Delete, the artwork will be permanently removed, and the window will close.
If you choose Save, a file browser will open, allowing you to choose the location where you want to save your file.
Please note, if you delete the artwork, the action is irreversible.


