Select Layers #
You can control and edit multiple layers at once, performing bulk actions such as moving, grouping, deleting, or transforming. StylusX allows you to select Aktive and Selected layers for more precise control. You can also easily merge layers.
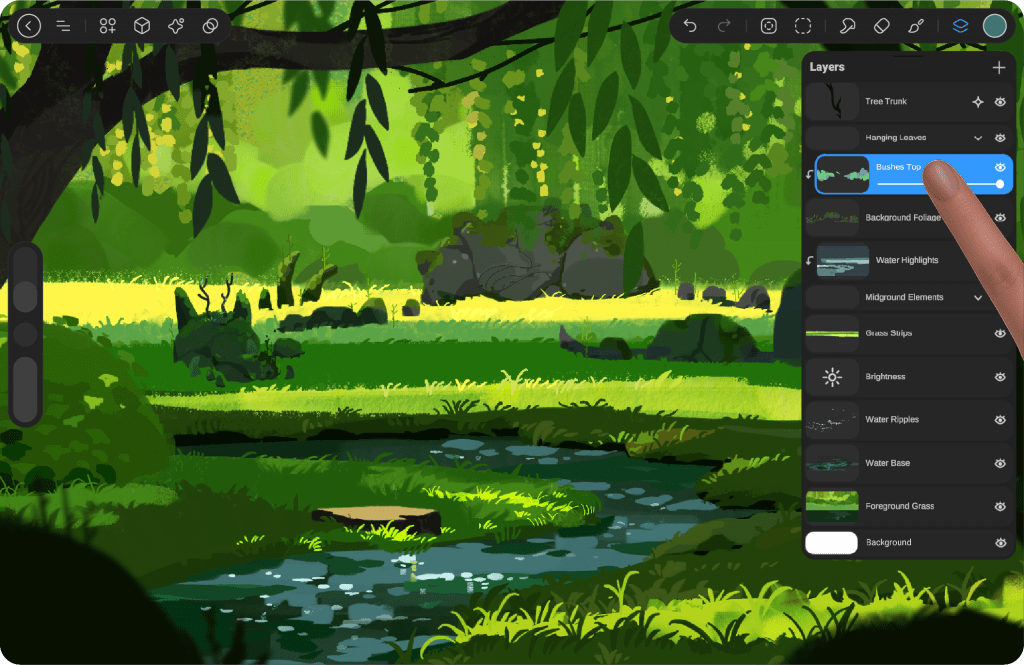
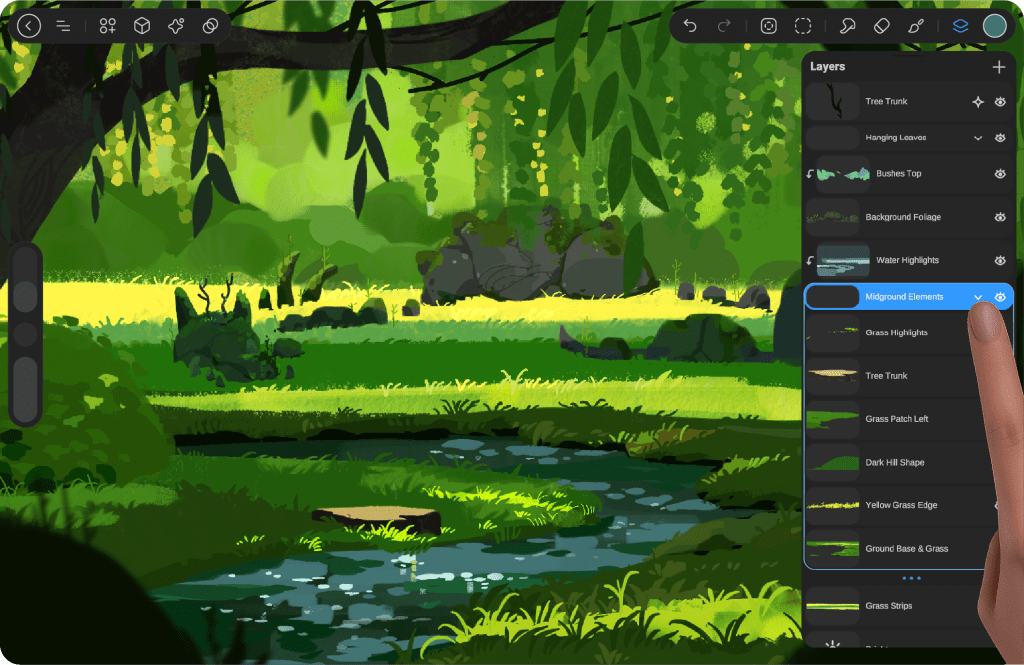
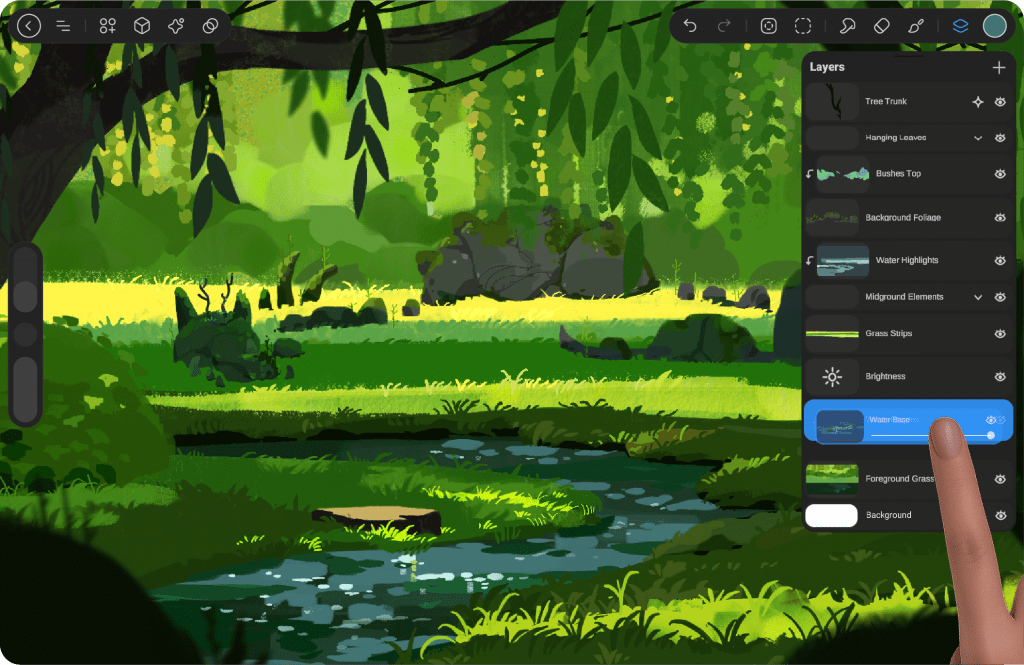
Aktive Layer #
On the Layers panel, tap any layer to make it your Active layer.
Your Active layer will appear in the Layer’s panel as bright blue. You can only have one Active layer at a time.
Any drawing or painting you do affects this Active layer.
Selected Layer #
Swipe right on any layer to add it to your selection as a Selected layer.
Your Selected layers will appear in the Layer’s panel as dark blue. While you can only have one Active layer at a time, you can select as many Selected layers as you like.
Drawing and painting will only appear on the Active layer.
When you swipe left on a layer, two icons will appear. The first icon on the left allows you to specify the layer you’re swiping. The second icon enables the “Select Between” feature, which selects all layers between the Active layer and the layer you’re swiping.
Move Layer #
Easily reorganize your artwork by dragging and dropping layers, layer selections, and groups. You can select multiple layers, whether they are next to each other or scattered throughout the panel, and drag them to a new position. Once dropped, they will automatically be placed in the correct order within the Layers panel. This feature gives you full control over the arrangement of your artwork’s components, allowing for a neat and organized workflow. Simply drag any layer or group to a new position within the Layers panel to keep things in the right order.
Group Layers #
Combine multiple layers into Groups to maintain a tidy and organized workspace for your artwork.
Create #
When you select multiple layers, the ‘Group’ option will appear at the top right of the Layers panel.
Tap it to combine your selected layers into a single Group.
Place a layer above another #
When you drag a layer and place it above another layer, a group will be created automatically. This also applies when you select multiple layers from different locations or from behind others.
Open and Close Group #
To open a Group, tap the downward arrow icon. The Group will expand, and the arrow will point upwards.
Tap the arrow again to close the Group, or use the three dots below the Group to close it as well.
Dragging a layer into a group #
hen you drag a layer into a closed group, it will automatically be placed at the top of the group. If the group is open, you can control the layer’s position just like any other layer
Selected Group #
Like layers, you can select a Group as an Active or Selected Group.
Swipe right to select a Selected Group. This will act as if you selected every layer inside the Group.
Tap to select an Active Group. This allows you to perform Selection and Transform actions on the entire Group. These actions apply to all layers within the Group, except for painting, smudging, erasing, or using Adjustments.

Group Options #
When you tap on the preview window of the Group, a set of options will appear. These options allow you to manage the Group, including actions like duplicating, deleting, or locking the Group.
When you tap on the preview window of the Group, a set of options will appear, including:
Merge Group: Combine all the layers within the group into a single layer.
Rename Group: Change the name of the group for easier organization.
Color Label: Assign a color label to the group for quick identification.
Replace Layers Out: Replace layers inside the group with new layers.
Lock, Duplicate, Clear and Delete #
When you swipe left on any layer or Layer Group in StylusX, you’ll reveal buttons for the following options: Lock, Duplicate, Clear, and Delete.
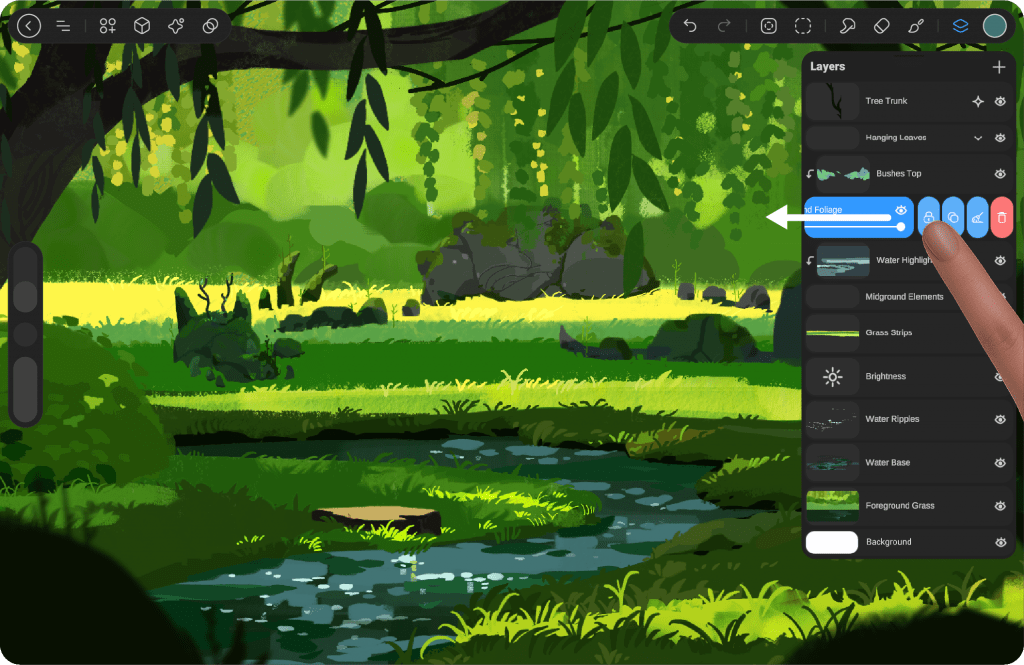
Lock #
This feature ensures that a layer you want to preserve remains unaffected by any changes.
When a layer is locked, a padlock icon will appear next to its name. To unlock the layer and make it editable again, simply swipe right-to-left and select Unlock.
Duplicate #
Duplicating a layer or group allows you to create an identical copy of your content. This feature is useful when you want to make adjustments or experiments without altering the original layer.
To duplicate, simply swipe left on the layer or group, and choose the Duplicate option. The new layer will appear above the original, preserving all settings, effects, and content.
Clear #
Clearing a layer removes all the content on that layer, resetting it to an empty state. This is useful if you want to start fresh without deleting the layer itself.
To clear the layer, swipe left on it and tap the Clear option. The layer will remain, but all artwork, effects, and adjustments will be removed.
Delete #
Deleting a layer removes it entirely from your artwork, along with all its content, effects, and adjustments.
To delete a layer, swipe left on it and tap the Delete option. The layer will be permanently removed from the Layers panel and cannot be undone.


