What Can You Do After Making a Selection? #
Once you’ve made a selection, the possibilities for your next steps are endless. The selection tool acts as a powerful starting point for various creative actions. Here are some key things you can do after completing a selection:
Drawing #
After finishing the selection, you can click on the brush icon, and the selection will remain active, allowing you to draw only within the selected area.
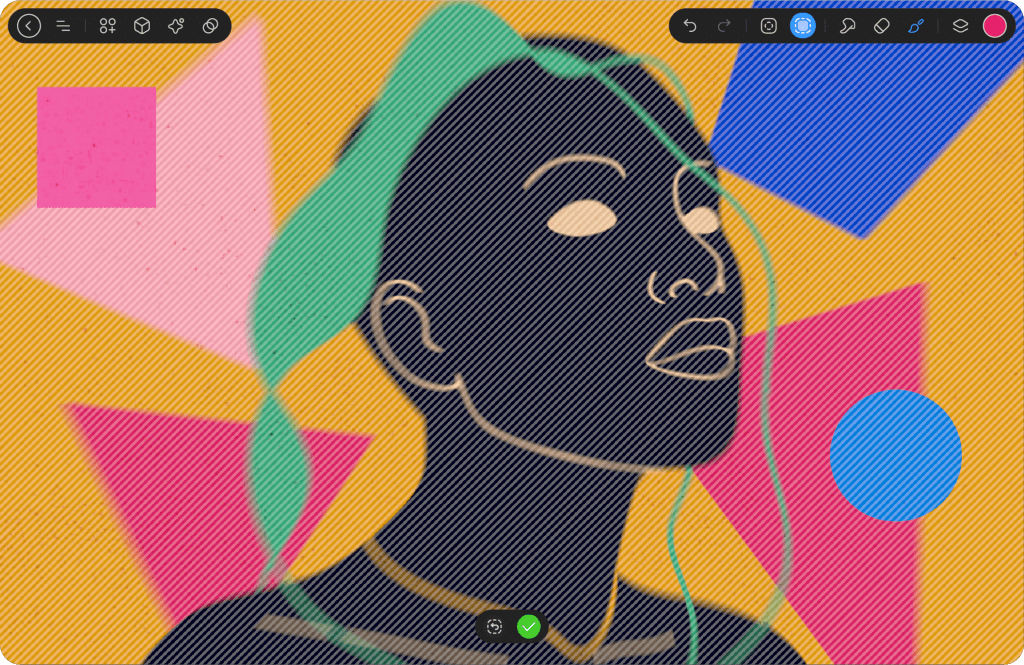
At the bottom, two icons will appear: Done and Reselect.
Done: Clicking this will close the selection mode while keeping your artwork intact.
Alternatively, you can exit the selection mode by clicking the Selection icon again.
When you click on Reselect, the selection mode will reactivate, allowing you to adjust, add new selections, or move the existing selected area. This gives you the flexibility to refine or modify the selection as needed.
This same process applies to the Smudge and Eraser tools as well.
With the selected area, you can begin painting, sketching, or adding intricate details to the chosen part of the canvas. The selection ensures that only the selected area will be affected, so you can focus on enhancing specific elements without worrying about spilling over into the rest of the design.
Erasing: #
If you wish to remove part of the design within the selected area, you can easily erase unwanted portions. This is particularly useful when you want to clean up or refine edges without touching the rest of your work.
Smudging #
The Smudge tool allows you to blend and distort the pixels within the selected area. This can create smooth transitions, soften hard edges, or give a more fluid and organic look to your artwork.
Transforming #
You can manipulate the selected area by rotating, scaling, skewing, or distorting it. This allows for more complex adjustments to the composition or layout, making your artwork more dynamic and flexible.
Learn more about Transform Tool
Layer Filling #
Layer Filling allows you to fill only the selected area within the layer. After making a selection, tap on the layer preview, then click on the Layer Filling option. This will fill the selected area with the current brush or color, leaving the rest of the layer unaffected.
Creating New Layers #
You can duplicate, move, or transform the selected area onto new layers, giving you full control to edit different parts of the design independently. This is particularly useful for non-destructive editing and keeps your workflow flexible.
Adding Effects #
To begin adding an effect to a specific region of your layer, first, select the layer you want to apply the effect to. Next, choose the desired effect from the available options. Once you’ve chosen the effect, apply it to the area by selecting the appropriate brush mode. Afterward, create a selection to define the region where you want the effect to be applied. Once the selection is made, activate the brush tool and start painting within the selected area. The effect will begin to appear as you draw. Alternatively, you can use the Fill Layer function or drag the color dropper into the selected area to instantly apply the effect. This method gives you precise control over where and how the effect is applied.
Learn more about Effects


