StylusX provides a range of color interfaces designed to fit your unique workflow. This flexibility allows you to easily choose, save, and fine-tune colors in various ways, giving you full control over your color choices for every project.
Color Panel #
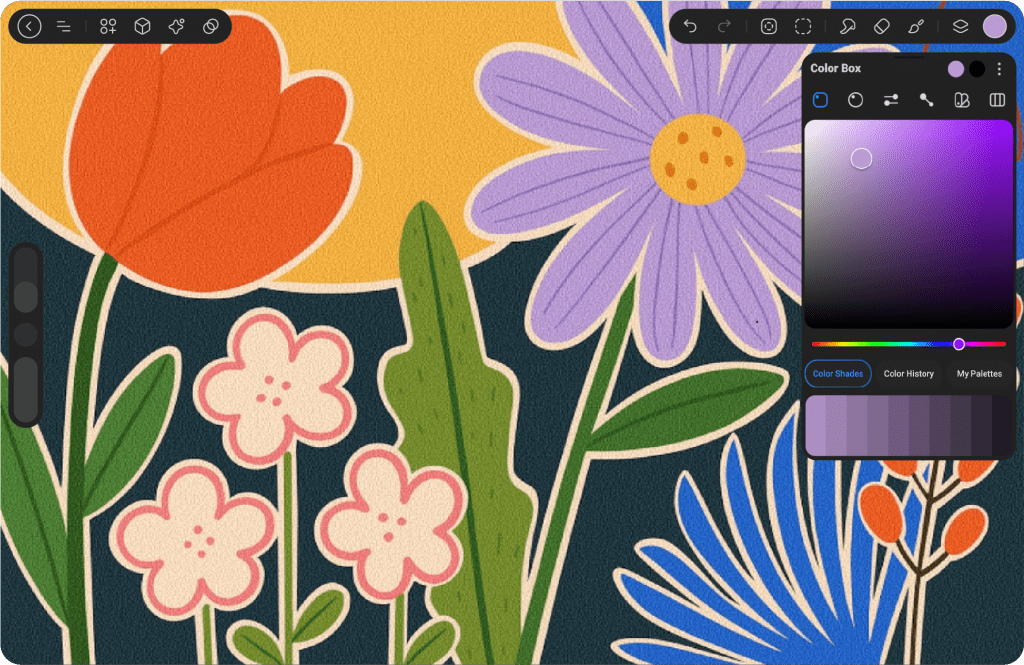
The Color Panel is your central hub for selecting, adjusting, and saving colors. It gives you all the tools you need to fine-tune your palette and keep your favorite colors easily accessible for future use.
Active Color #
The Color Panel displays the currently selected color, allowing you to see and adjust it easily. This gives you instant feedback on your color choice as you modify and refine your artwork.
Primary Color #
In the top right corner of the Color Panel, you’ll find two side-by-side rectangles: the left one shows your primary color, while the right one displays your secondary color. This setup allows you to quickly switch between colors and make adjustments as you work.
Secondary Color #
Learn more about using a secondary color in Color Dynamics.
Color Box #
Learn more about it in Color Box
Color Quick Access #
Access your most used and favorite color tools in one place. This section includes your saved color shades, history, and favorite palettes, allowing you to quickly select and apply colors without interrupting your workflow. Simply tap to access and customize your color choices, making your creative process more efficient.
Color Shades #
Each color shade can consist of up to ten variations, ranging from the lightest to the darkest tones of a base color. This allows for a smooth transition between shades, providing depth, contrast, and dimension to your artwork. You can select the perfect shade for any purpose—whether you’re adding highlights, creating shadows, or designing intricate gradients. The ten variations help you fine-tune the exact tonal quality you need, making your color palette more dynamic and versatile.
History #
The History section tracks the last ten colors you’ve used, providing a convenient way to revisit recent color choices. When you start a new artwork, the History is empty, and colors are added as you select them. Once you reach ten colors, each new selection pushes the oldest color off the list.
You can access History in the Color Panel under the Disc, Classic, Harmony, and Value tabs. If you wish to clear the history, simply tap Clear to reset it.
Favorate Palette #
The Default Palette appears at the bottom of the Color Panel, providing quick access to your pre-selected colors. You can find it in the Disc, Classic, Harmony, and Value tabs, as well as on the Palettes tab.
If you want to customize the colors in your Default Palette, simply go to the Palettes tab and make your adjustments.
To explore more about creating and managing color palettes, learn more about Palettes and how they can streamline your creative process.
Switch Between #
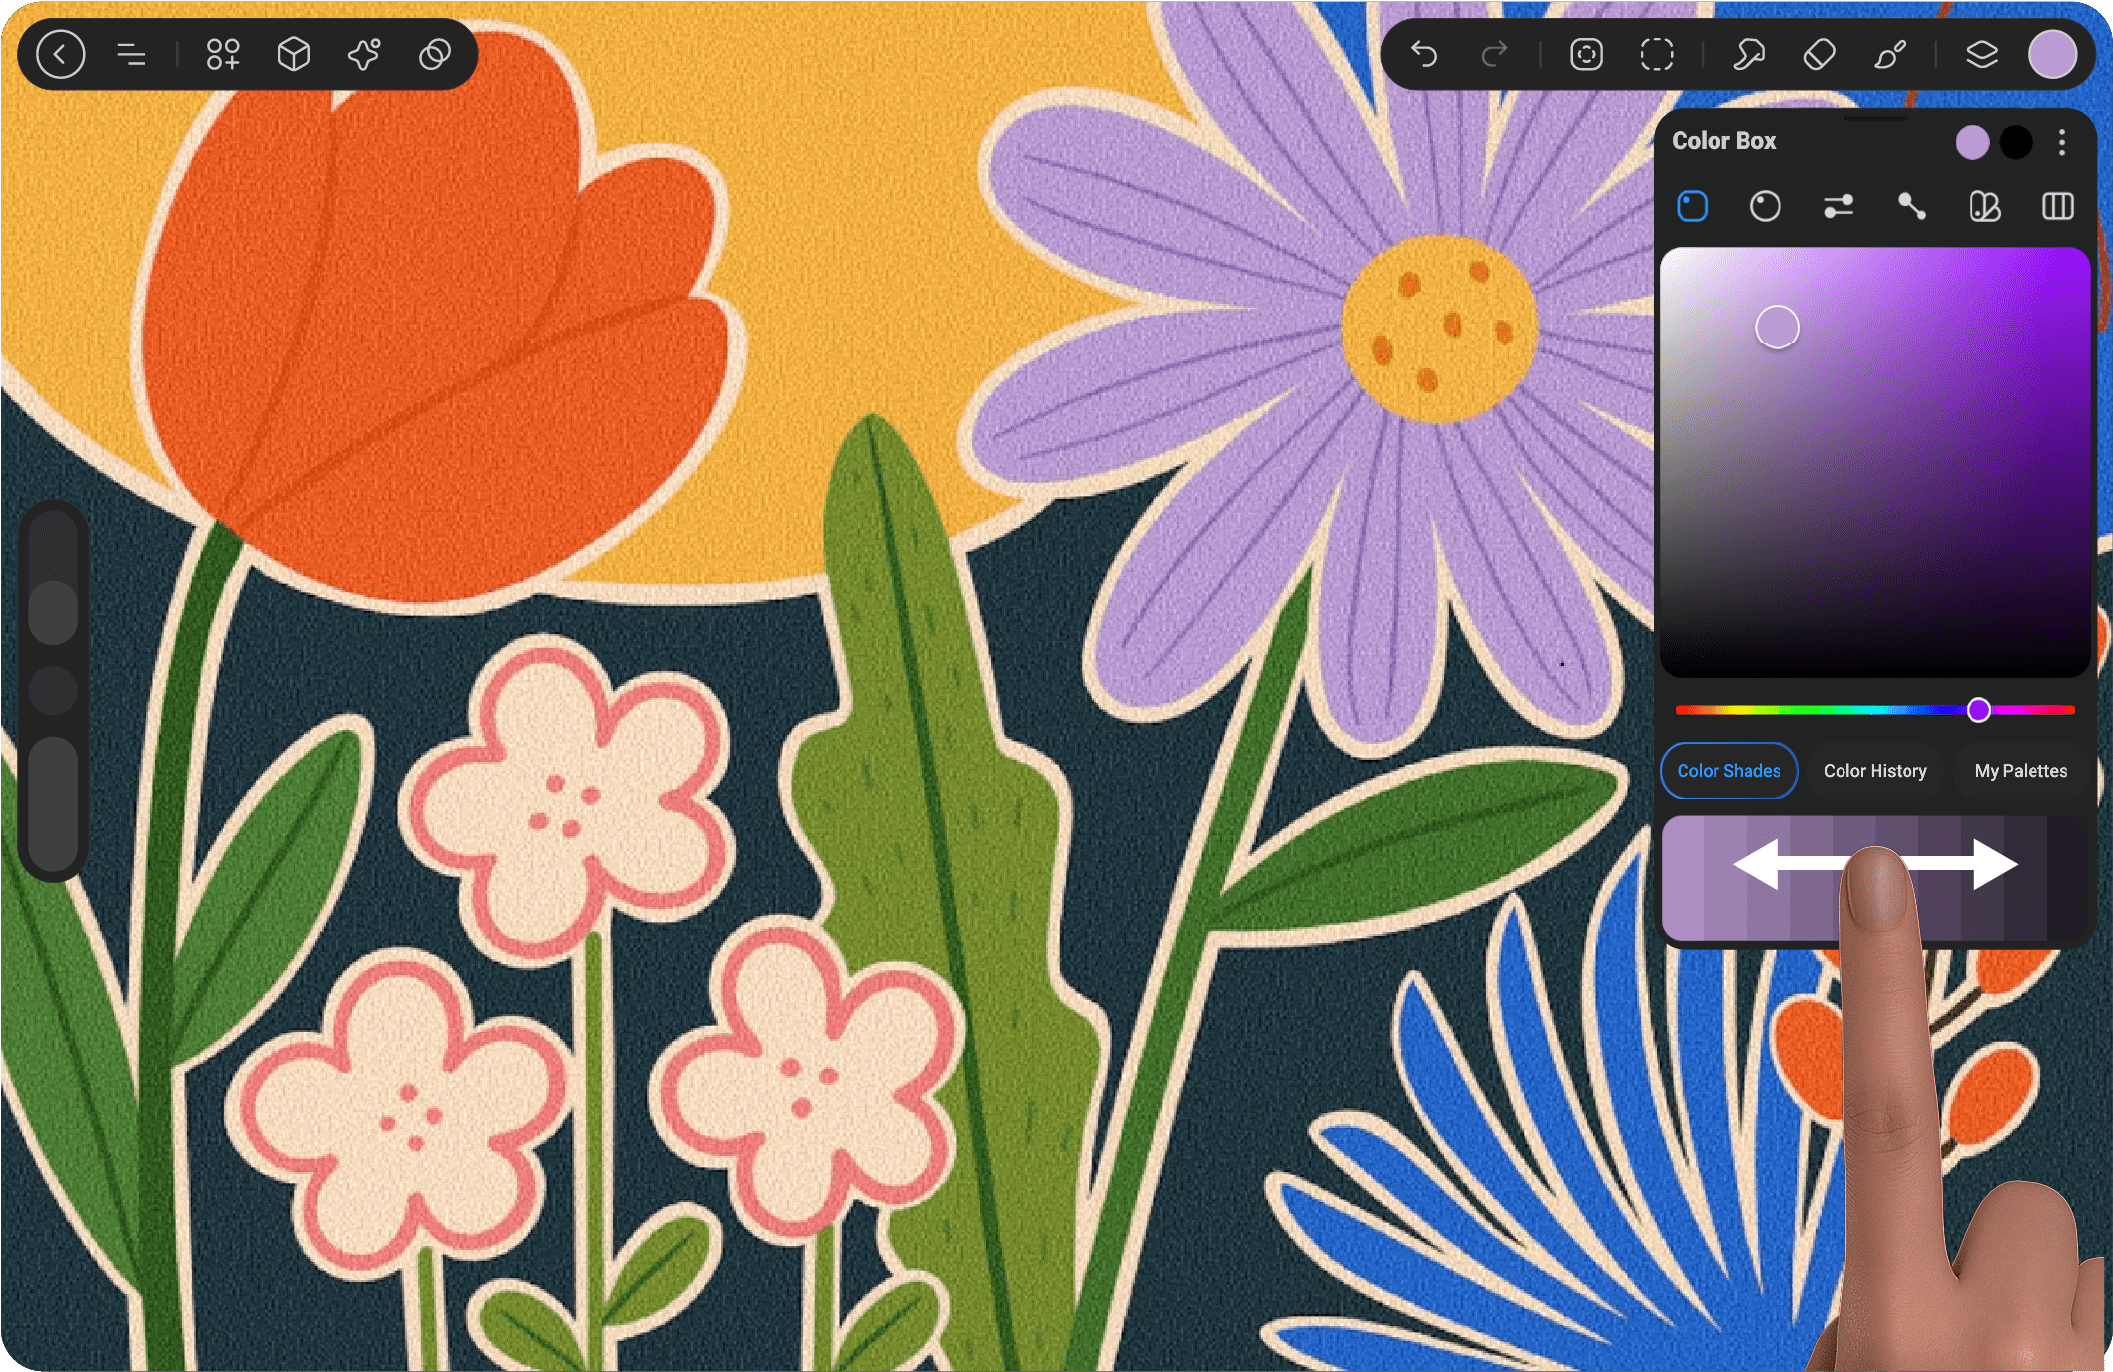
Shades:
You can adjust the color shades by simply sliding left or right using the drag bar, or by clicking on the title to reveal a dropdown menu for further customization. This gives you full control over your color choices, allowing you to quickly fine-tune the shade to match your desired effect.
This menu gives you easy access to a variety of color adjustments. You can choose from:
Shade: Adjust the darkness of your color. Tint: Lighten the color by adding white. Tone: Modify the color by adding gray. Warmer: Shift the color towards warmer tones. Cooler: Shift the color towards cooler tones. Complementary Tint: Adjust a complementary color with a tint effect. Complementary Shade: Modify a complementary color with a shaded effect. Analogous Palette: Select a harmonious color palette based on adjacent colors.
These options allow you to refine and experiment with colors to achieve the perfect palette for your design.
History:
With the History feature, you can easily browse through the colors you’ve used previously. Simply drag to scroll through your past color choices and revisit any shade you’ve selected. If you want to clear your history, tap the History button, and you’ll see the option to clear all previous colors. This helps you keep your workspace fresh and organized while allowing easy access to your color history when needed.
Color Palette:
You can easily navigate between your favorite Palette Boxes by dragging them within the Color Palette section. Alternatively, by pressing the Favorite button, a dropdown menu will appear displaying the names of your saved palettes. This allows you to quickly access and switch between your preferred color collections, making the color selection process faster and more efficient.
Panel Handle #
By tapping the line at the top of the color window, you can move the color panel within the workspace, allowing for a more organized environment and easier access to your colors. Additionally, there is a magnet icon on the right side of the screen, which lets you dock the color panel permanently, keeping it in place for seamless navigation. You can also position the layer and brush libraries alongside the color panel for improved workflow.
ColorDrop #
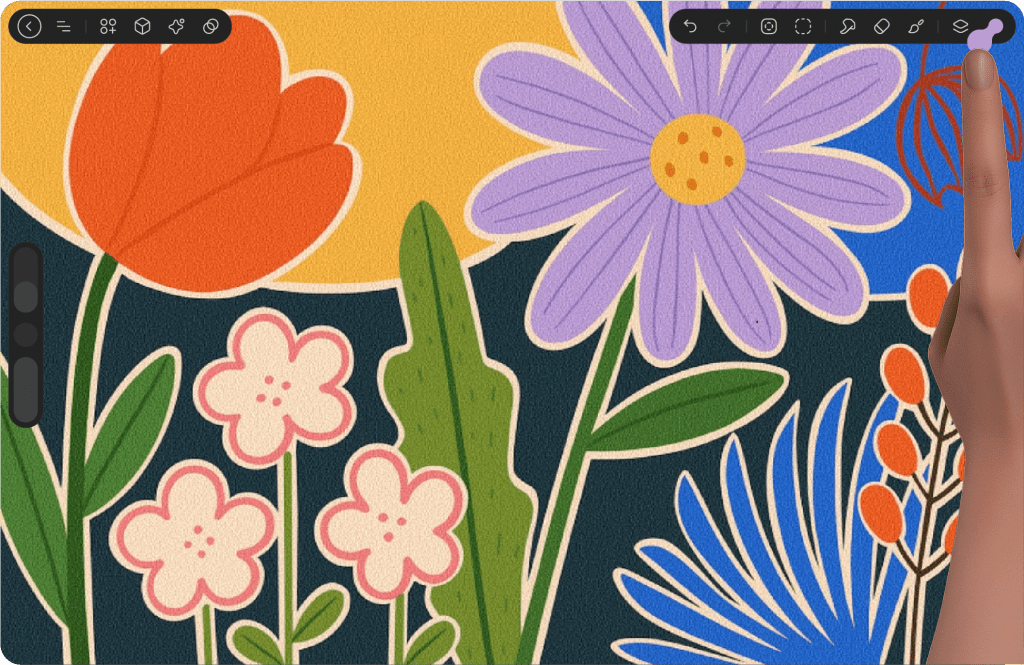
Drag the Active Color to Your Artwork
Drag the active color and drop it onto a specific area in your artwork to instantly fill it with the selected color.
The color will expand until it encounters a boundary, such as an outline or a different color area.
ColorDrop Threshold #
Use ColorDrop Threshold to control how much your ColorDrop fill spreads into and over the edges of your artwork.
At lower thresholds, the color will stay within smaller areas. At higher thresholds,
the color will bleed into outlines and spill over into neighboring areas.
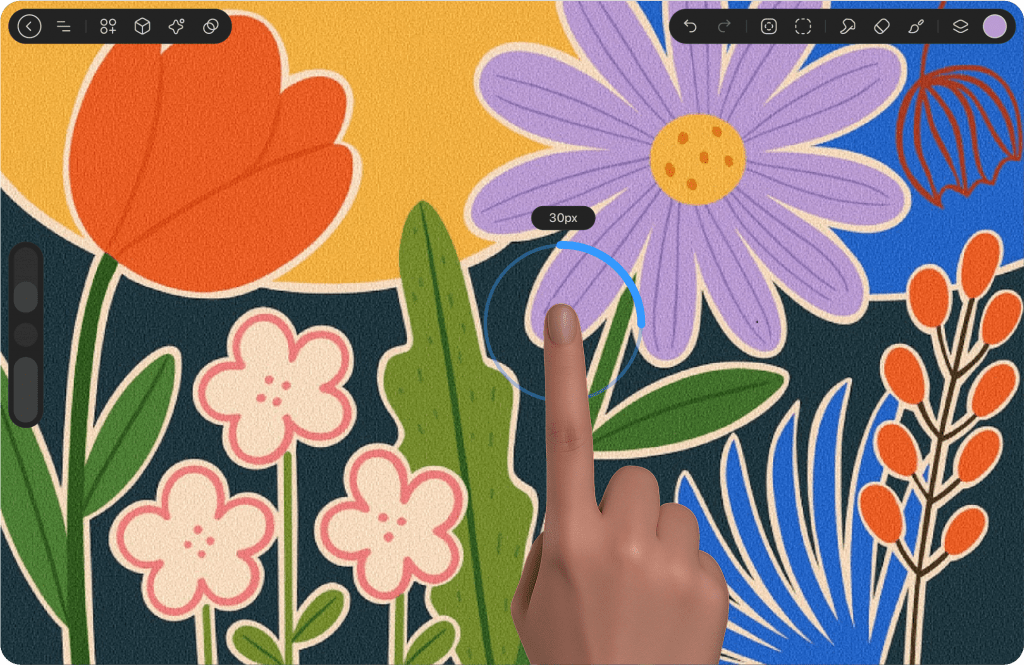
To activate Threshold, drag the Active Color over the area you want to fill but don’t release it. After a moment, ColorDrop Threshold will appear.
A circle with a percentage will appear, and you can adjust the value by rotating your stylus. Rotate left to fill less area and right to fill more.
Lift your stylus to commit to the fill.
ColorDrop will remember your selected Threshold setting until you change it.
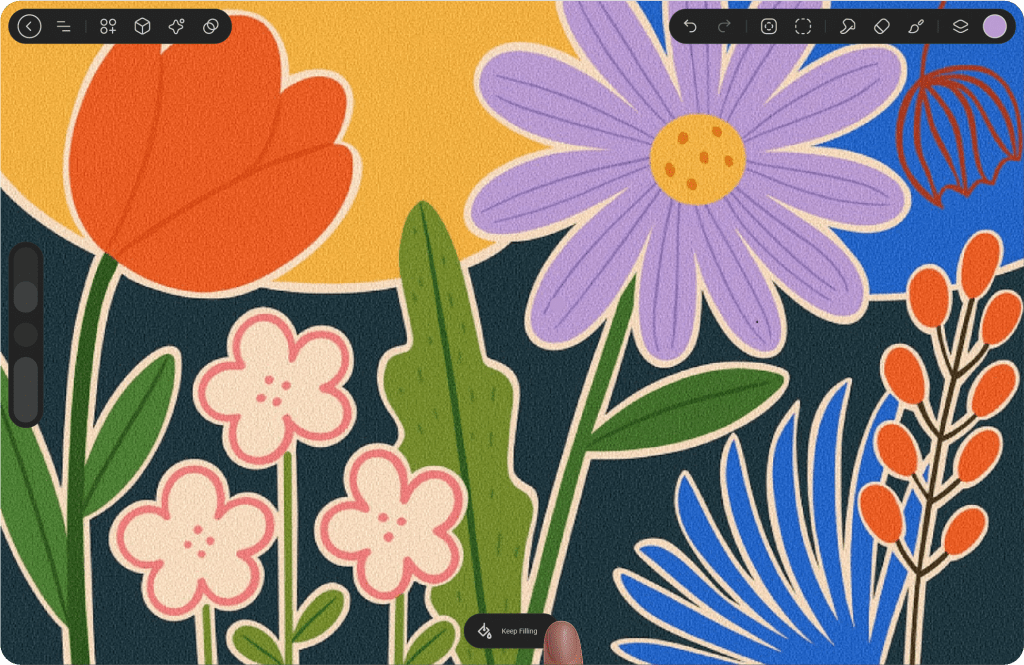
Keep Filling #
Use Keep Filling to apply your Active Color to other areas of your canvas.
After dragging your Active Color for the first time to ColorDrop, tap the Keep Filling button at the bottom of the screen and tap on
other areas of your canvas to fill them with the same Active Color.
To turn off Keep Filling, simply tap any of the icons in the menu bar.
Eyedropper #
Quickly Pick a Color from Your Canvas
To activate this feature, tap its icon in the left toolbar, or if your device supports touch, simply press and hold
your finger on the screen to sample the color. Learn more about Eyedropper Hier


