Select Tool #
The Select Tool provides a seamless way to isolate and manipulate specific areas of your artwork. With an intuitive interface, it allows for precise selection adjustments, enabling smooth editing, transformation, and refinement of your creative elements.
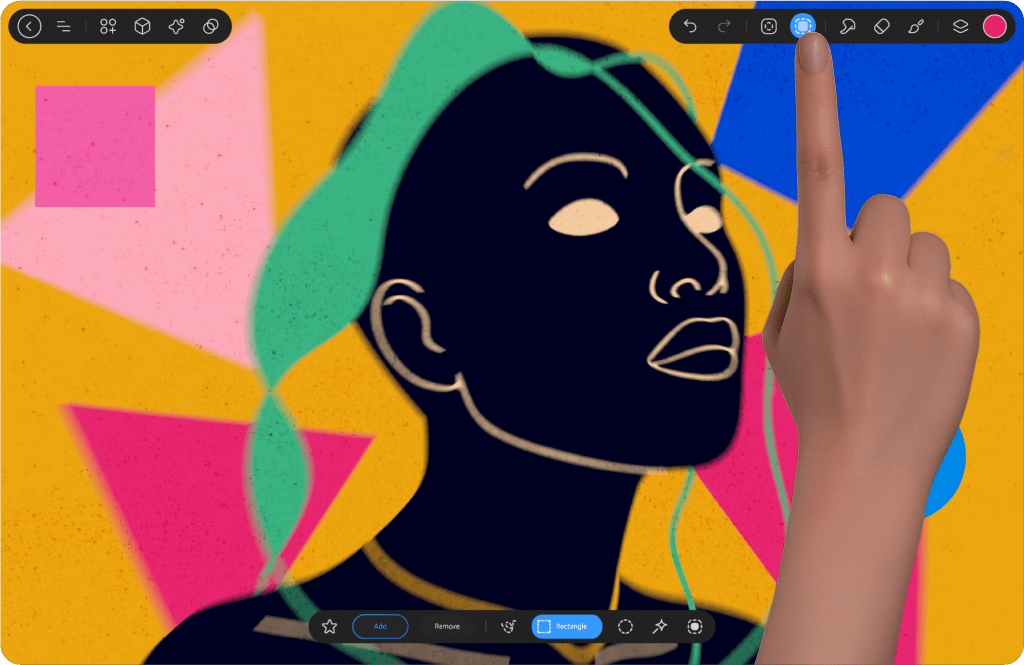
Selection Button #
The Selection Button is located in the top bar on the right, as the fifth icon from the left. It provides quick access to selection tools, allowing you to isolate and edit specific areas of your artwork efficiently.
After tapping the Selection Button, customization options and settings will appear at the bottom of the screen. Here, you’ll find all the essential tools needed to refine and adjust your selection with precision.
When you tap the Selection Button, it turns blue, indicating that the selection mode is active. To exit this mode and return to your previous tool—whether it was a brush, eraser, or smudge tool—simply tap the button again.
Selection Panel #
The Selection Panel provides a range of tools for precise selection, allowing you to isolate specific areas of your artwork effortlessly. It includes multiple selection modes, modification options, and a favorites feature to store frequently used selections.
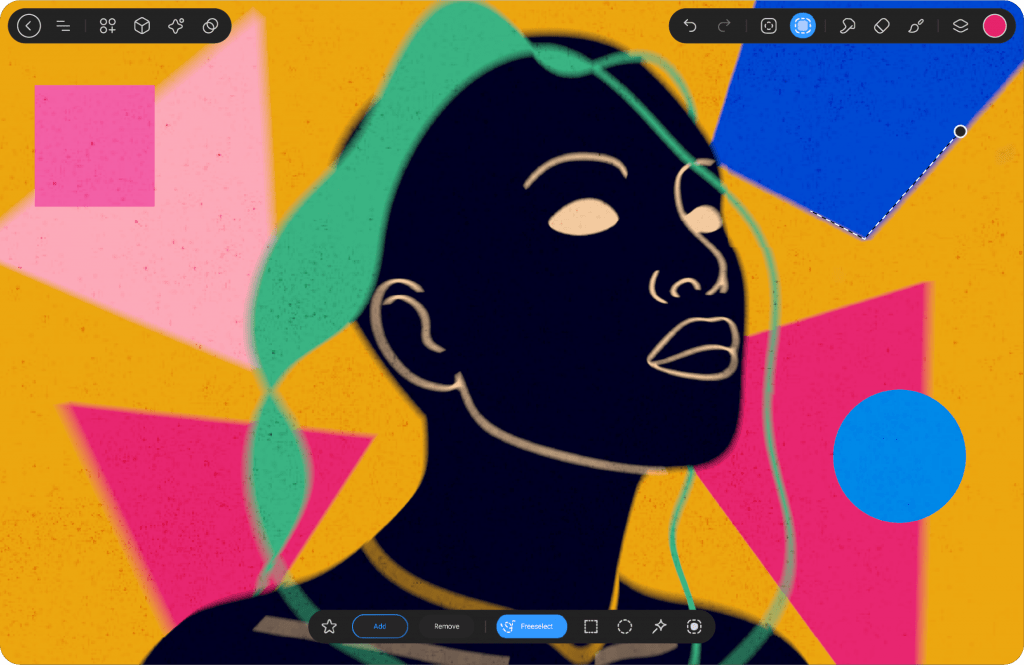
Free Select #
This tool allows for flexible, hand-drawn selections. When drawing freely, the selection follows the movement of your hand. If you lift the stylus and tap elsewhere, the tool switches to creating straight lines. At the start of the shape, a point appears—when finishing the selection, you must either tap on this point or trace over it again to close the selection.
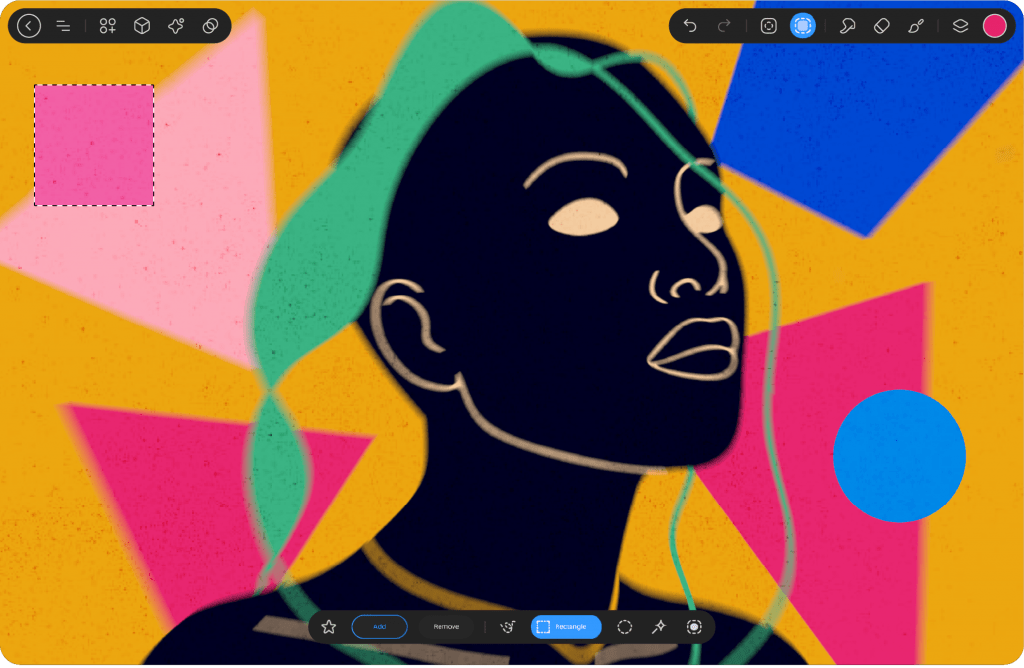
Rectangle #
Creates a rectangular selection by dragging from one corner to another.
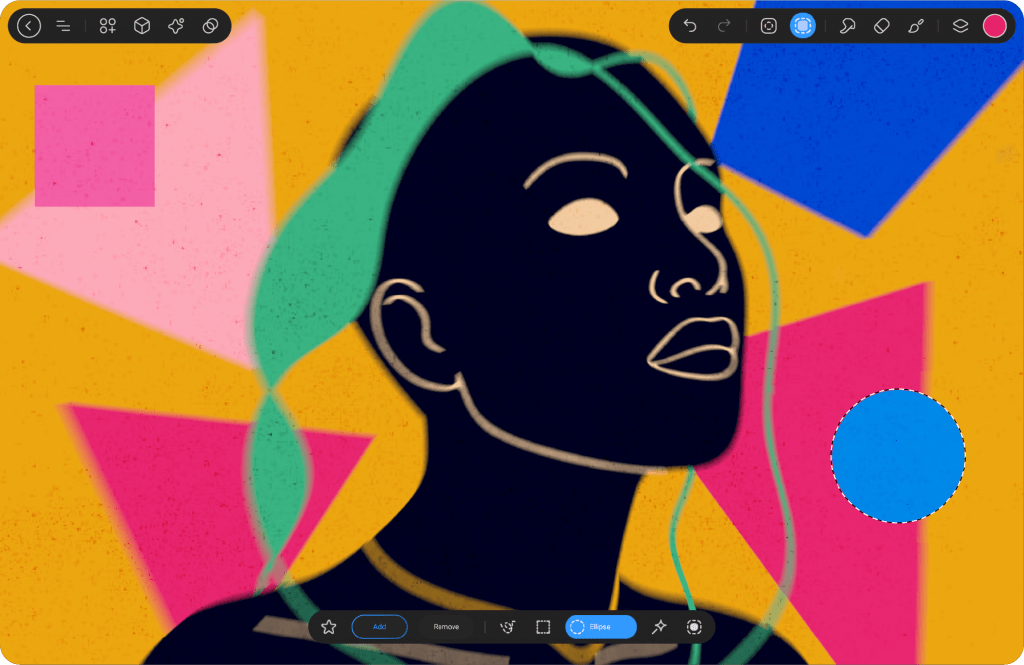
Ellipse #
Allows you to create oval or circular selections with a simple drag motion.
Auto Select #
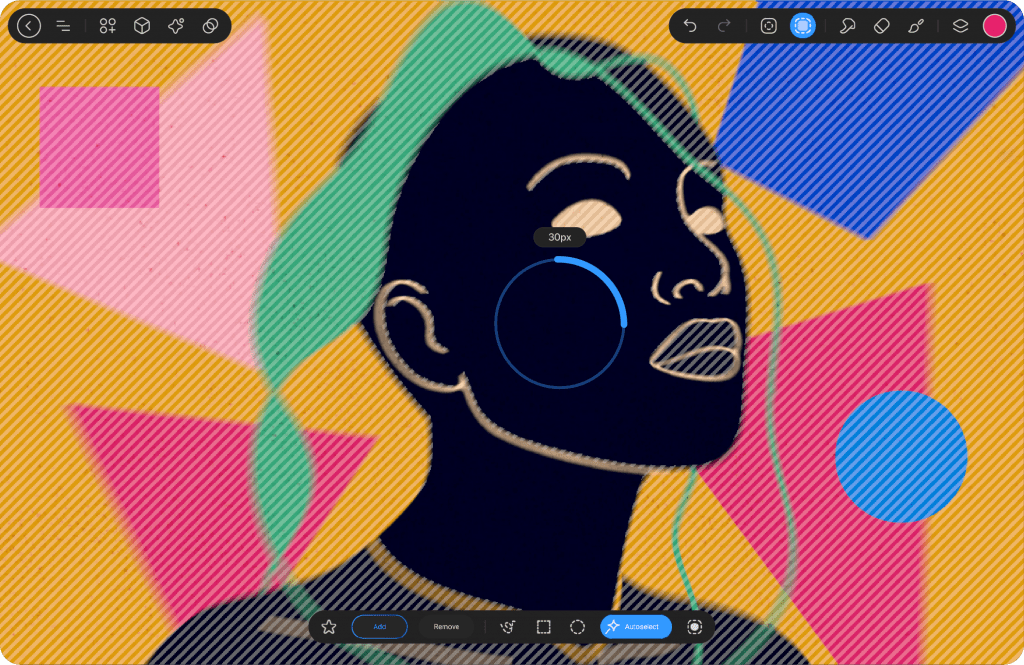
Automatically selects an area based on color and contrast. Tapping and holding activates a Threshold Slider, which appears as a circular interface. You can adjust the selection threshold by rotating your stylus in a circular motion. Auto Select works instantly upon tapping once, selecting the contents of the active layer.
Select All #
Quickly selects the entire canvas, useful for global adjustments.
Modification Options #
Add & Remove
Enables you to expand or subtract from an existing selection, allowing for precise refinements.
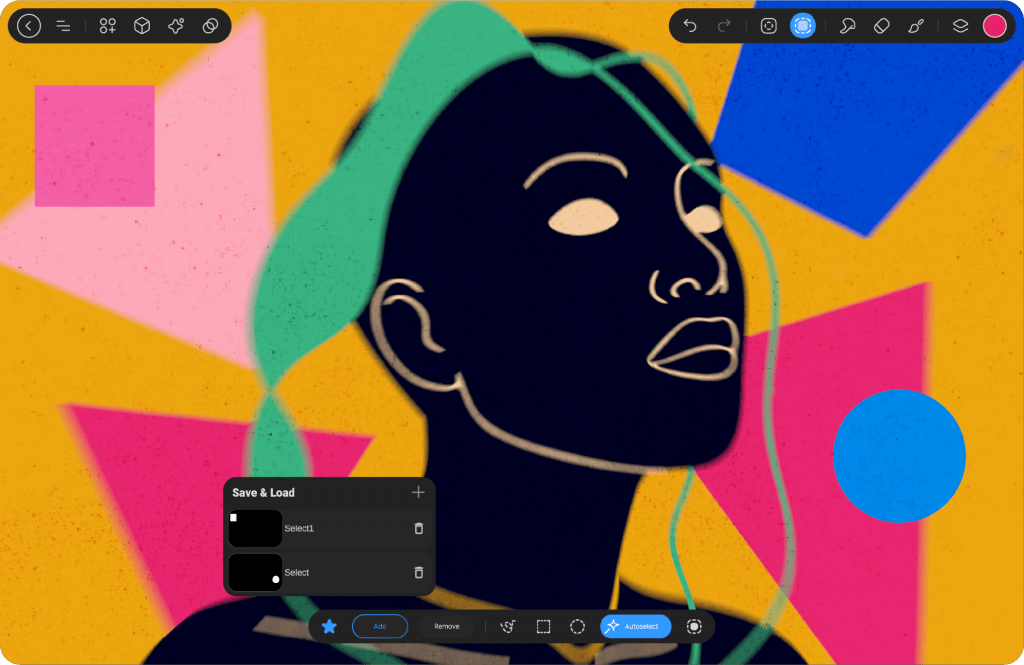
Favorites #
The Favorites feature allows users to save selection shapes for easy access later. Each artwork file maintains its own memory, ensuring that saved selections remain available within the specific project. Selections stored in Favorites appear similar to a mask—white areas represent the selected region, while black areas remain unselected.
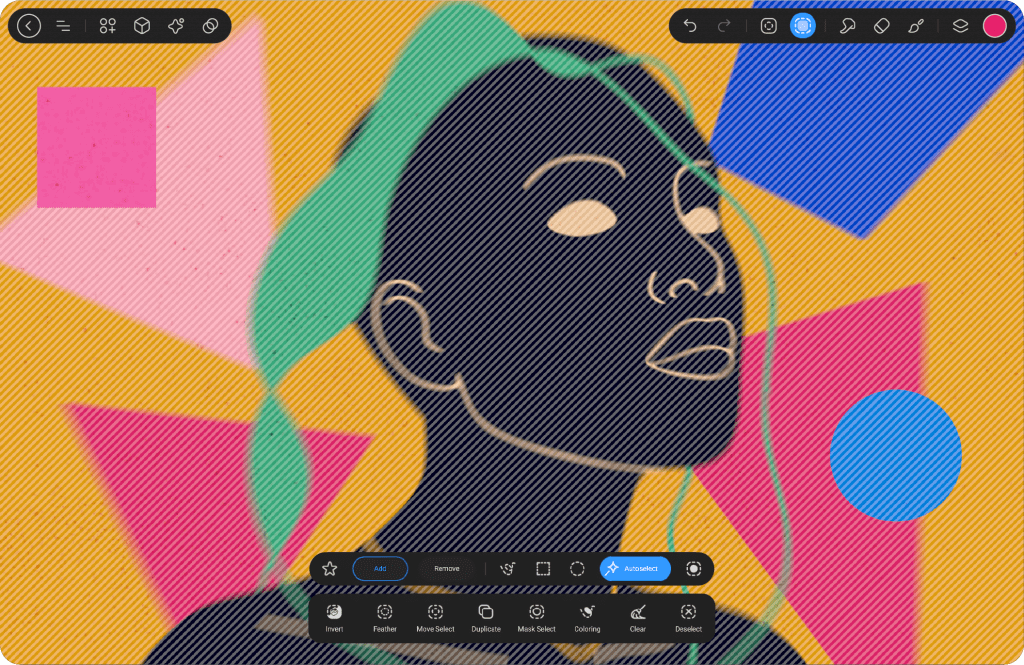
Selection Actions #
After making a selection, a new set of options will appear below the Selection Panel called Selection Actions. These options allow you to further manipulate your selection:
Invert #
Inverts the current selection, meaning everything outside of the selected area will be selected instead. This is helpful if you want to apply changes to the surrounding space rather than the selected area.
Feather #
Feather is a setting that softens the edges of a selection, creating a gradual transition between the selected area and the surrounding pixels. When you enable the Feather option, a slider will appear, allowing you to adjust the intensity of this softening effect.
The higher the Feather value, the more gradual and subtle the transition will be, blending the edges of your selection into the rest of the image. This is particularly useful when you want to create smoother effects or seamless integrations, especially when working with complex selections or when compositing images together.
In essence, Feather allows you to avoid hard, sharp edges in your selections, giving your work a more natural and polished appearance.
Move Select #
Move Select allows you to reposition the selected area to a new location within the canvas. To move the selection, simply click anywhere on the screen and drag the selected area to your desired position. This gives you the flexibility to adjust your selection without altering its content, enabling more precise editing and manipulation of the selected area.
Duplicate #
When you select an area, Duplicate will create a copy of that selection and place it in a new layer directly above the current layer you’re working on. This is useful for replicating elements within your design while keeping them separate for further adjustments.
Mask Select #
Applying Mask Select will add a mask to the current layer you’re working on, allowing only the selected area to be visible. The rest of the layer will be hidden. This is ideal for non-destructive editing where you may want to preserve the original content while focusing on specific areas.
Coloring #
The Coloring option lets you replace the selected area with a specific color or gradient. This can be used to quickly change the hue of the selected region, creating effects like highlights, shadows, or other color modifications.
Clear #
Clear removes the content within the selected area, effectively erasing that part of the layer. It’s useful when you want to eliminate specific sections without affecting the rest of your design.
Deselect #
Deselect will remove the current selection and exit the selection mode, allowing you to return to the tool you were using previously. If the Selection Mode is active, tapping the Deselect button will de-activate it and prepare the canvas for a new selection.


