Interface #
Customize, manage, and discover a wide range of brushes, each designed to enhance your artistic workflow and creative expression.
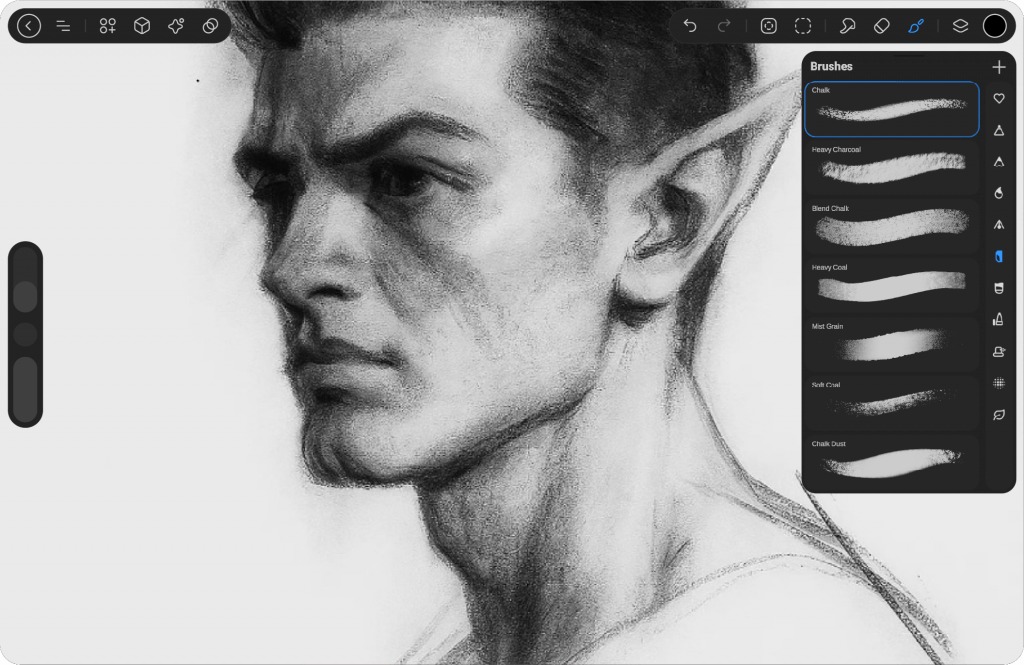
The Brush Library is organized into themed categories, providing you with hundreds of brushes to explore, enabling limitless creative possibilities.
Brush Groups #
On the right side, you’ll find a list of brush categories, making it easy to navigate and select the perfect brush for your artwork.

Brush Groups title #
To display the brush category title, simply swipe the list to the left, and it will expand. To close it, swipe it back to the right.
Brushes #
The panel on the left side of the Brush Categories displays all the brushes available within the selected category.
Tap a Brush Category to explore its brushes. Each brush is listed with its name and a preview of the stroke it creates.
Create #
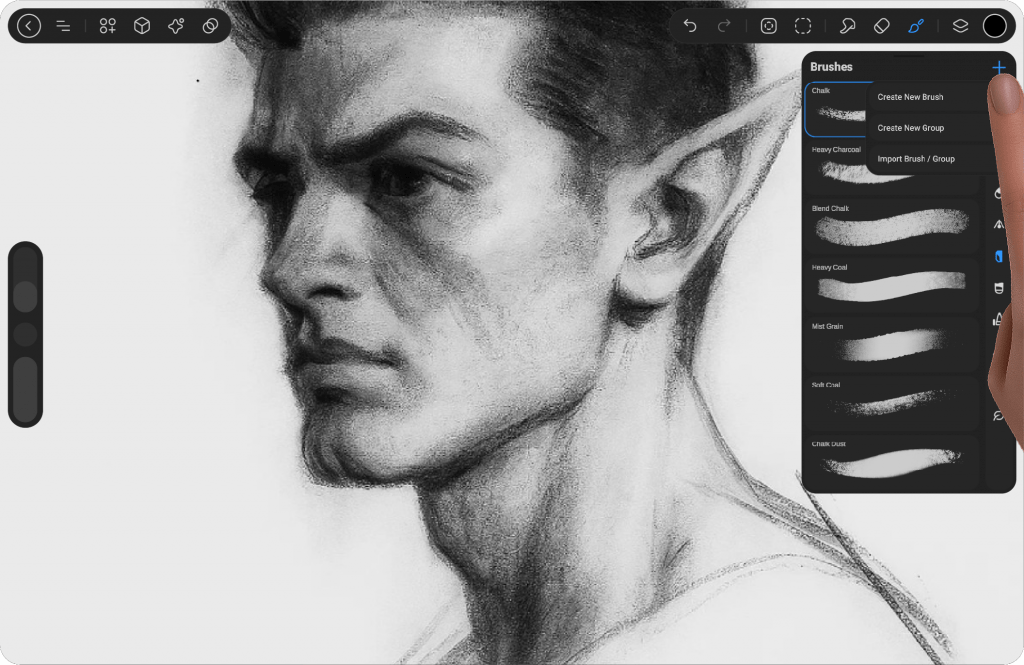
At the top right of the Brush window, you will find a plus icon. Tapping on it will display a menu with three options:
Create New Brush
Create New Group
Import Brush or Group
These options allow you to easily create new brushes, organize your brushes into groups, or import existing brushes and groups into your library.
Create Brush #
Upon selecting this, a new brush will be created, and the Advanced Brush Settings will automatically open, allowing you to adjust the settings of the newly created brush.
Learn more about Advance Brush Settings
Create Group #
Upon selecting this, a new group will be created, named “New Group.” The icon for this group will display the first letter of each word or the first two letters if it’s a single word. This new group will appear under the “Favorites” section, and you can add brushes to it or move brushes into it for better organization.
Import Brush / Group #
Upon selecting it, a browser window will open, allowing you to choose the brush or group you wish to import. When you import a brush, it will automatically be added to the group that you had selected, and the group will appear at the top of the list, just below the “Favorites” section. This provides an efficient way to manage your imported brushes within your existing groups.
Panel Handle #
By tapping the line at the top of the Brush window, you can move the brush panel within the workspace, allowing for a more organized environment and easier access to your brushes. Additionally, there is a magnet icon on the right side of the screen, which lets you dock the brush panel permanently, keeping it in place for seamless navigation. You can also position the layer and color libraries alongside the brush panel for improved workflow.
Note: Once the brush panel is docked to the right side of the screen, you can easily un-dock it by tapping the brush window again.


